|
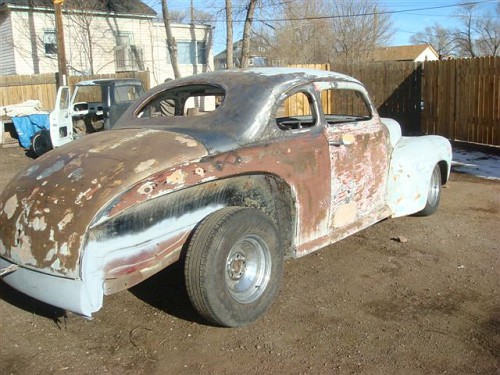
How to Chop A Top (Page 3)-Want to chop a top? This is page 3 in this series. -Trent- Chopping a 1947 Ford Club Coupe Part 3 by Pete Sanchez aka 49Flatty
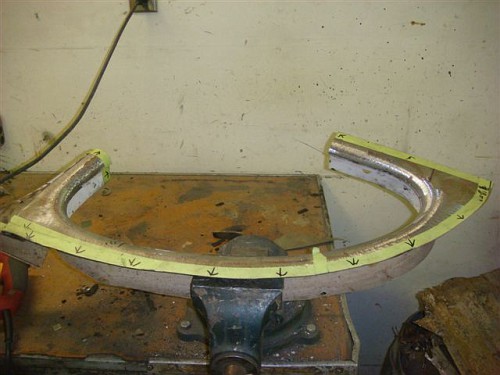
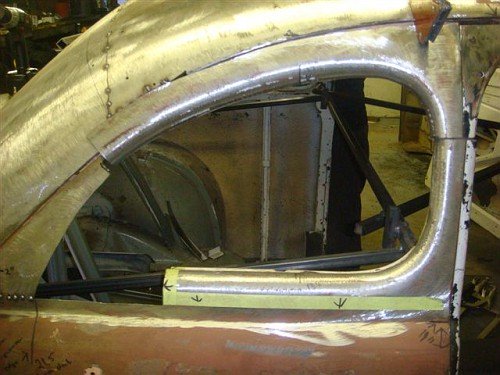
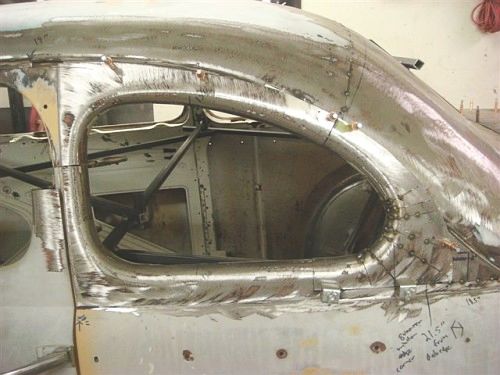
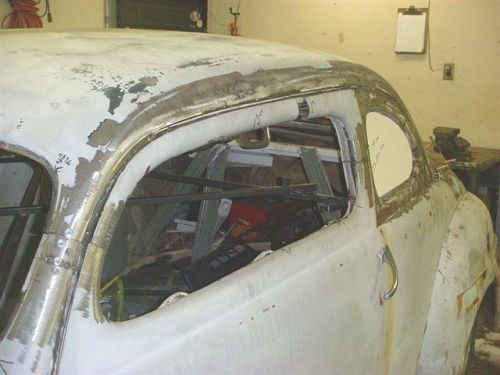
Next is the crucial step that will make or break this chop; the quarter windows. The pictures are of the left and the right, in various steps, but I felt this illustrated the steps better. Take the one piece quarter window and cut it into two pieces. One will retain the original upper corner to match the factory corner on the door. The other will be used to make the rear corner of the quarter window.
There is a small piece of metal that forms a "u" where the b pillar attached to the roof previously. This will need to be removed.
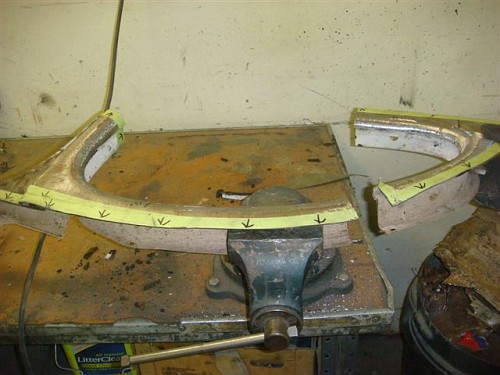
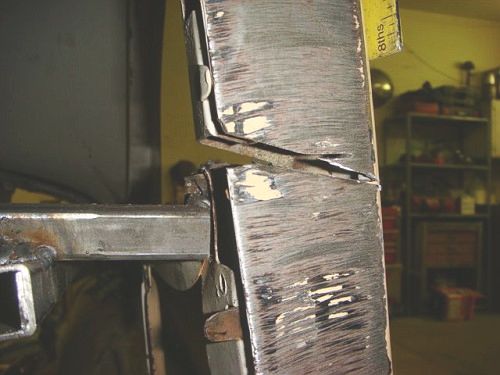
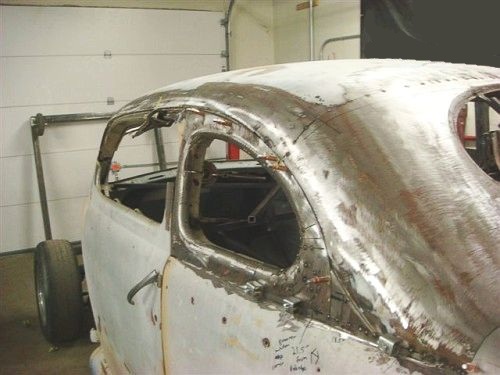
A pie cut will need to be made to the B pillar that is still attached to the car in order to meet the lowered roof at the correct angle and then tacked in place.
You will need to lay the front portion of the quarter window on the car and estimate how much you will need to remove from the bottom in order to meet the car’s B pillar properly.
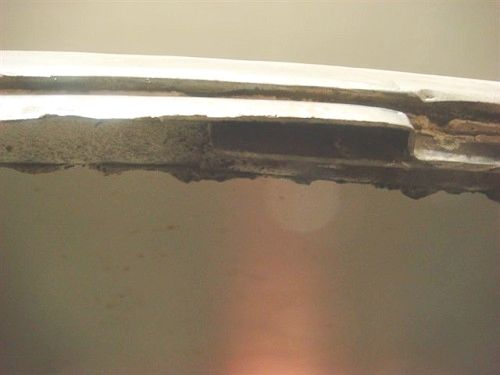
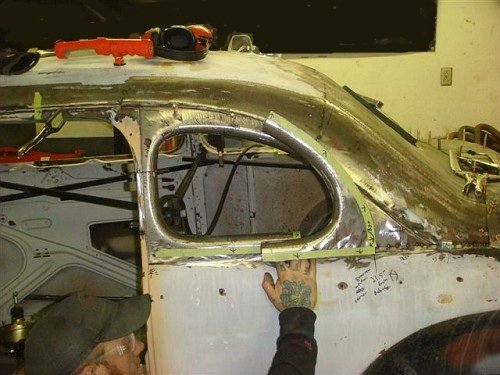
Window is starting to take shape but the front edge does not match the vertical angle. It is hitting in the back edge of the roof.
Mark and cut off the offending piece.
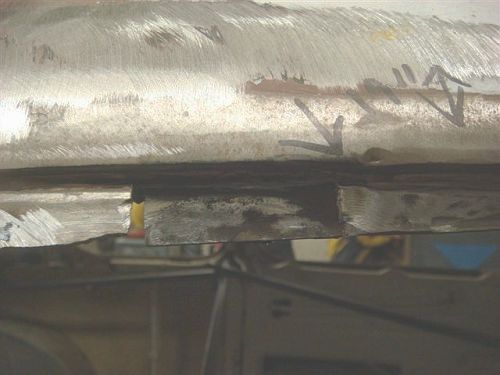
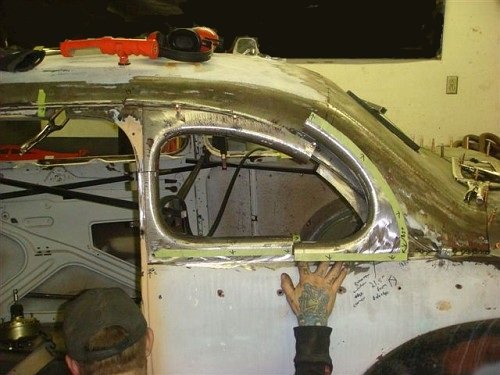
Getting closer, just need to fine tune it now.
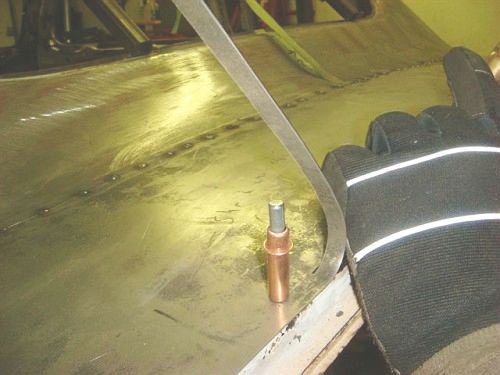
Once you have in place, put in a couple of Clecos and on to the next step. Time to make the length of the quarter window count. Attempt #1
Attempt # 2 – Getting closer...
Attempt #3 – 3rd time is a charm. I think we got it.
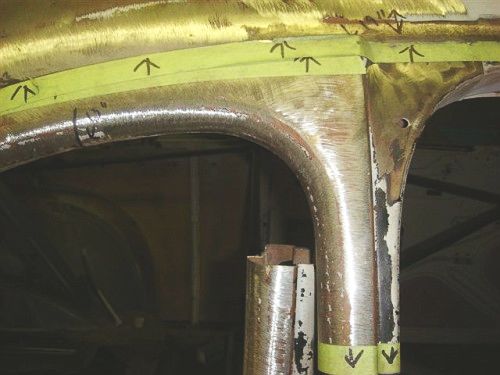
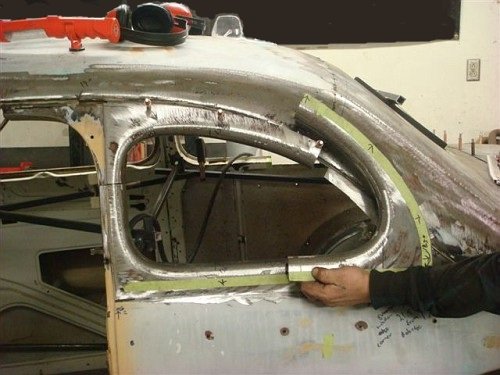
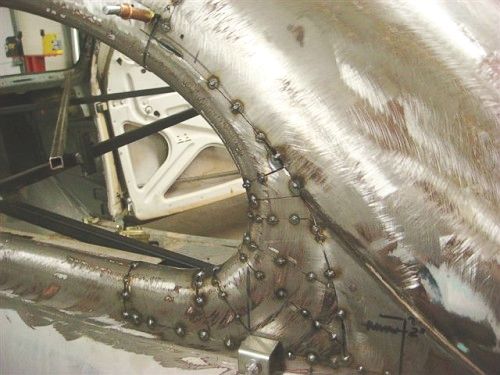
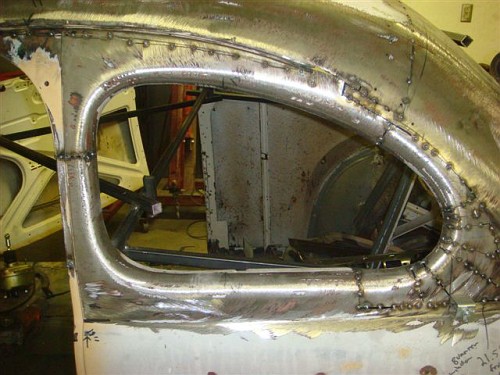
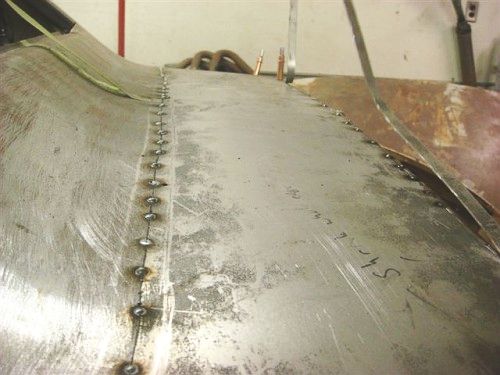
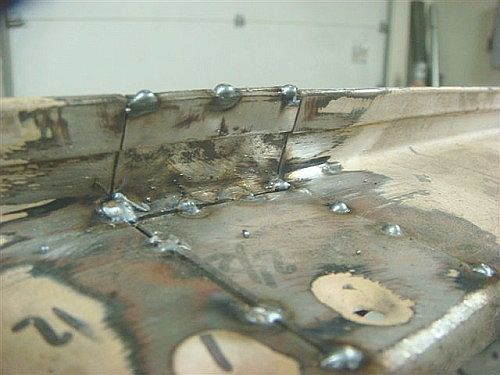
Start making slices on the back corner and it will slowly start to make its own curve. Start in the middle and work in both directions. Once you have the shape you want, tack it in place.
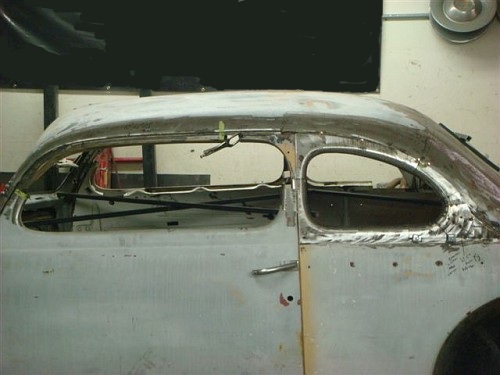
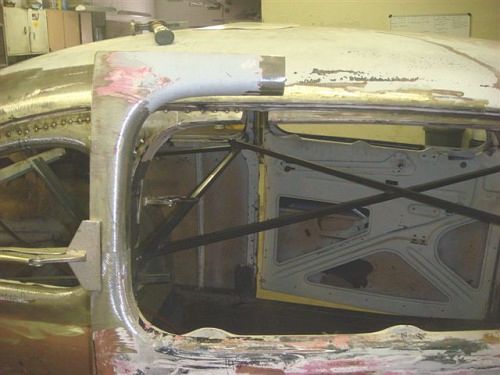
Put in place and get the quarter window opening to flow smoothly all the way around. Hold it place with a couple of Clecos and tack in place. Here is the outcome.
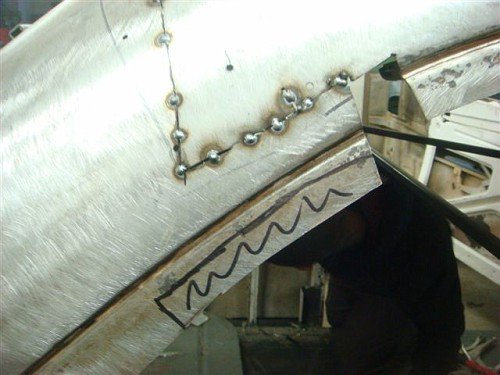
The same procedure you used on the two roof portions is used here. Cut a line between the two over lapping pieces and a fine line will come out that can be tacked and welded.
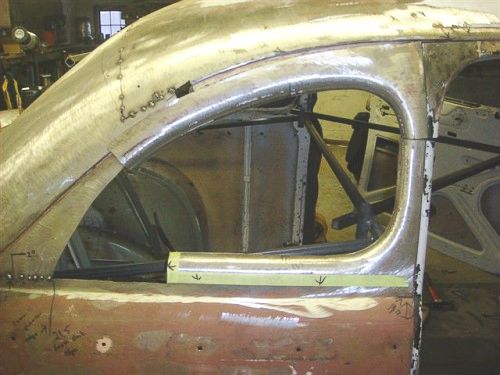
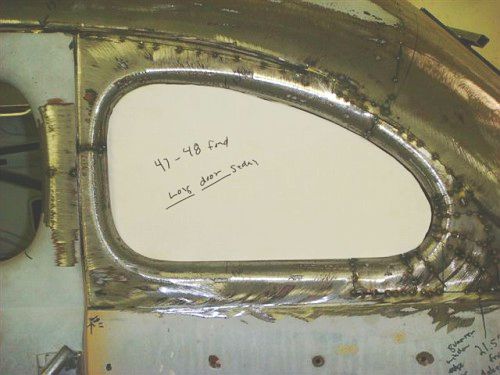
One you are happy with it, make a template of the window opening to use for the other side. This will assure both sides match.
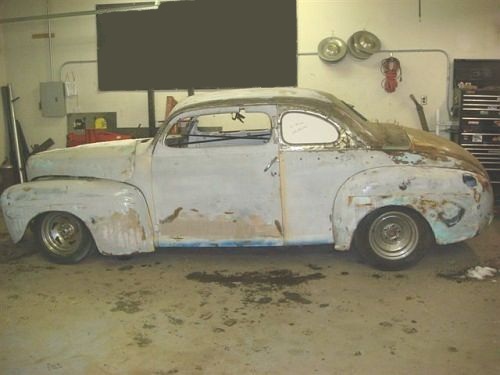
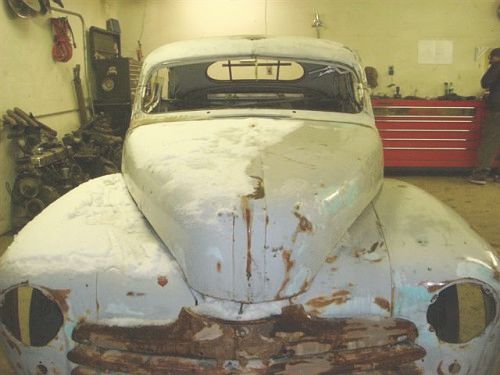
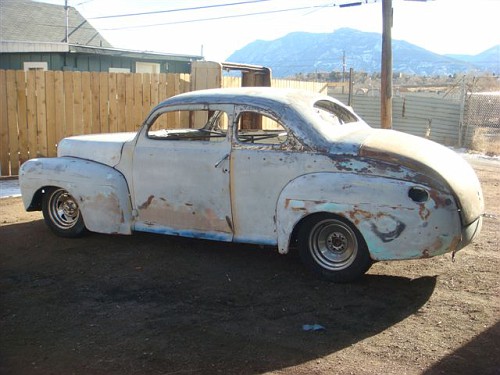
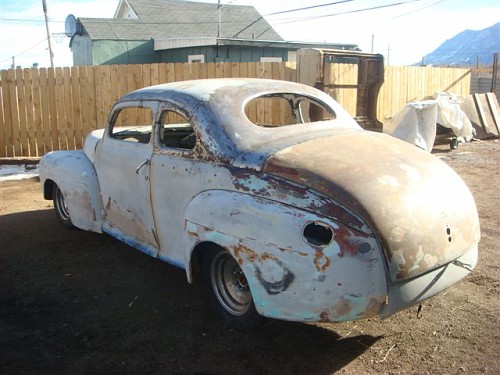
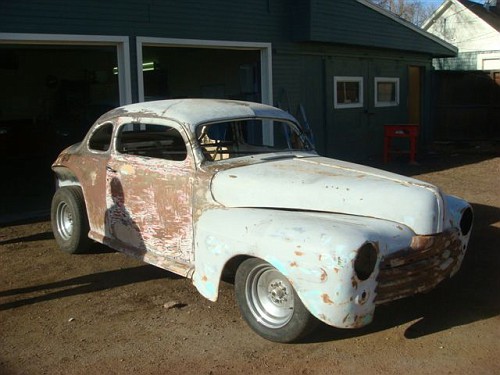
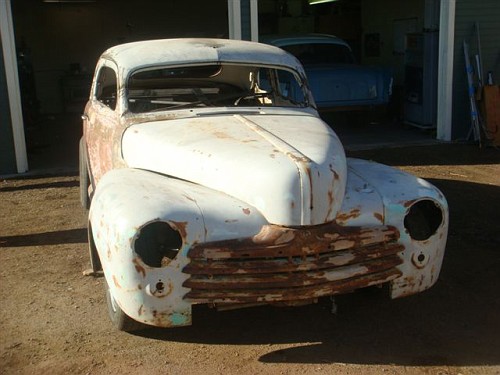
We could not resist mocking up the fenders and front clip to get a better idea of the overall look.
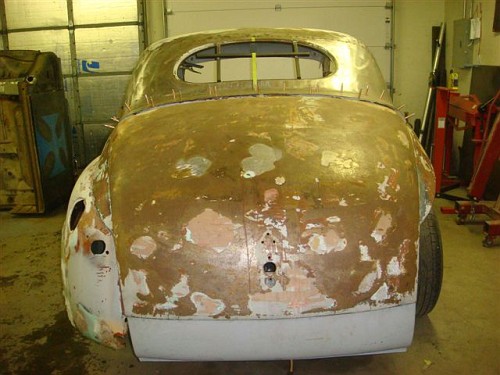
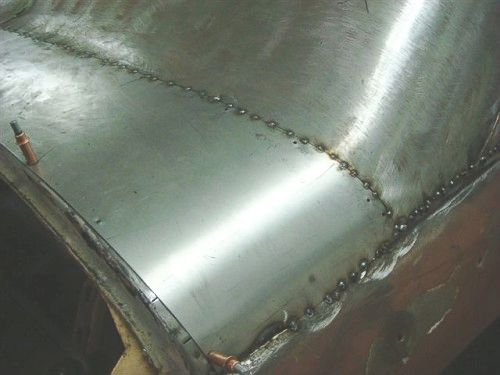
Next is completing the deck lid connector piece. After forming it to the contours, the same procedure applies that was performed on the rest of the panels. Using the electric saw, cut the overlapping metal so a single line remains. Then tack along to hold everything in place.
Finish tacking the piece in all the way around.
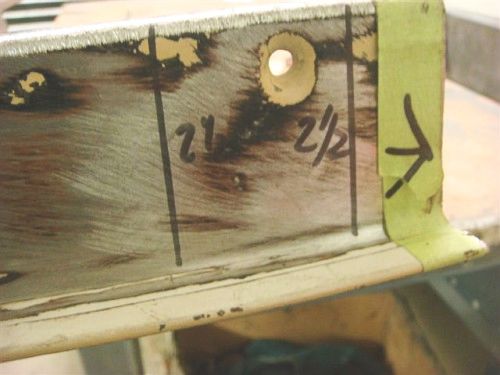
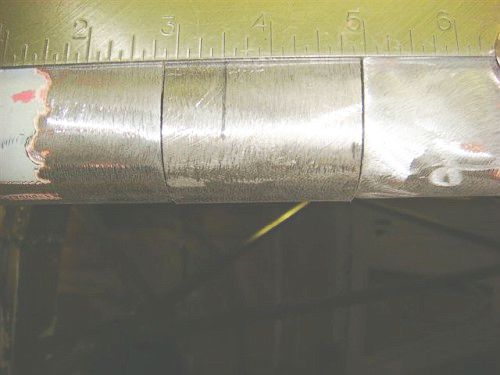
The last part that remains is relatively easy compared to the rest. The door tops and the extension you will need to make to connect the two. The problem with the 42-48 doors and possibly others is that top of the door is tapered. It is not the same thickness in the front that it is in the back. Thankfully, the sides of the back of door is about 2 ½ inches thick. This is where you realize that everything is just going to work out fine.
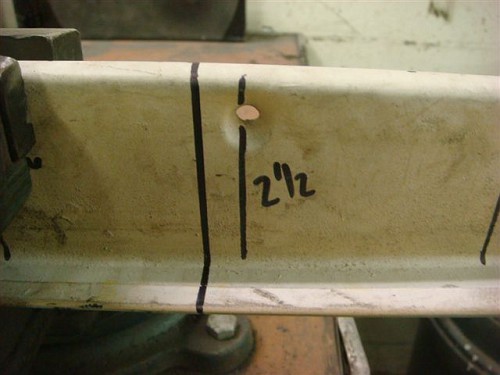
Measure along the top of the door piece you cut off earlier and find where it exactly measures 2 ½ inches across. Mark your line and make a straight cut right at that measure point.
You will now have the rear upper part of the door on its own. You will need to figure out how much off the bottom you will need to cut to make the doors fit the car. Remember the piece you cut off the bottom is the same piece you will be using to connect the upper portion of the door.
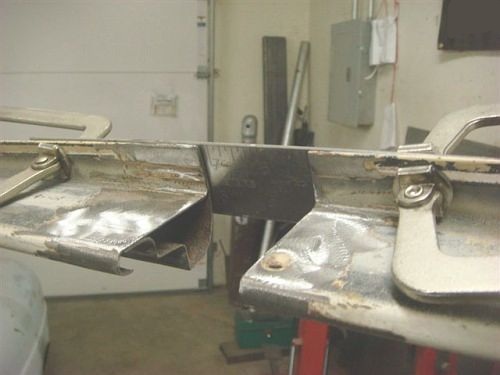
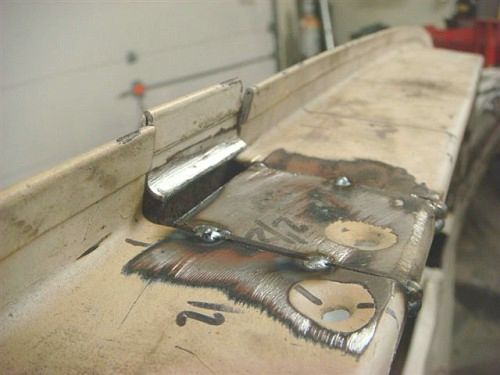
You will to cut down the front of the door frame as well. This portion I found is a fitting type of job and a lot of patience is needed. A stationary belt sander does wonders to filing down the metal to make it fit perfectly. Remember to make some relief cuts at the bottom of the door posts to compensate for the new inward angle. We also used paint sticks taped to the upper door portion to avoid going too high and having the doors hit the body. Once you get the final fitting and filing on the door posts, we used a thick metal ruler and some C-clamps to hold everything together. This also allowed us to measure out the piece we needed to connect the two.
We found the piece was a little higher at top but the bottom contour fit perfectly. A quick little cut separated the metal and we were able to tap down the piece to meet the same level of the sides. Then it was tacked in place.
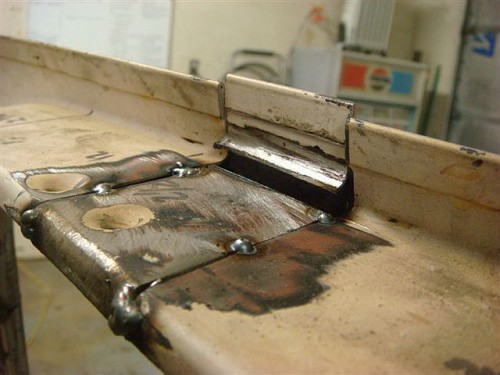
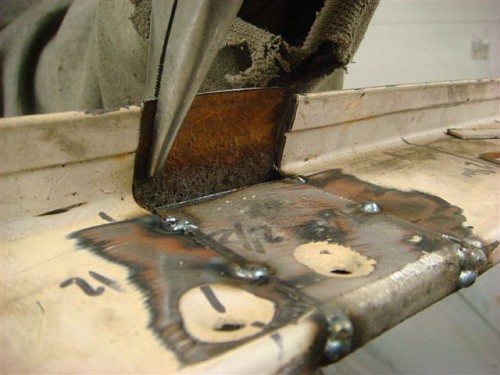
A quick grind off the top and the folded metal came apart.
The excess piece was lowered slightly down and tacked in place.
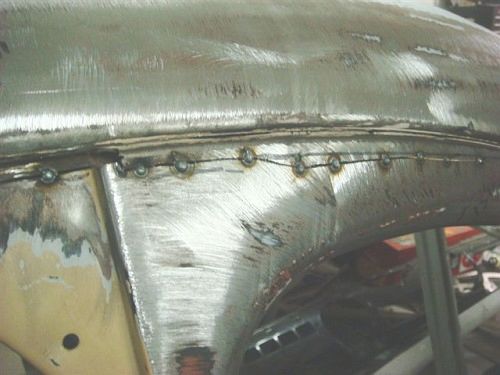
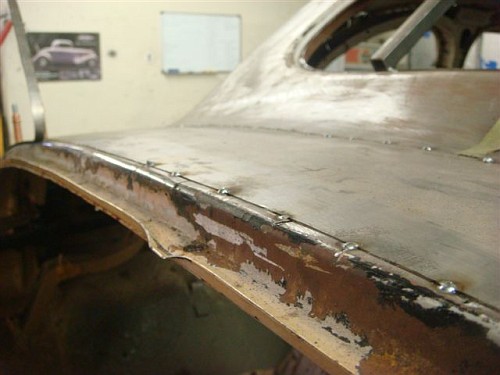
Re-measure the front window to make sure it is still square and rosette-weld the holes.
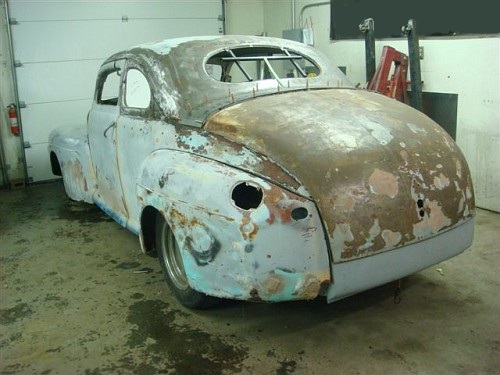
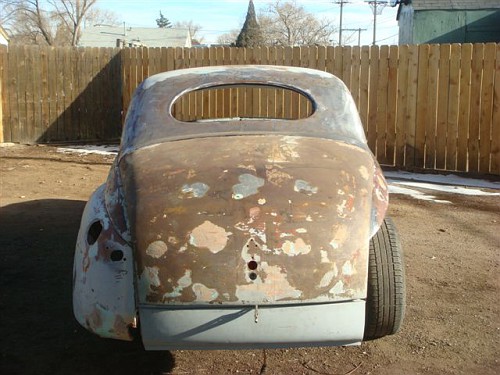
The end result:
Thanks for taking the time to read this entire post. Hopefully it will give someone the courage to chop their stock height top and make it something unique. Return from Chop A Top page 3 to Bodywork
|