|
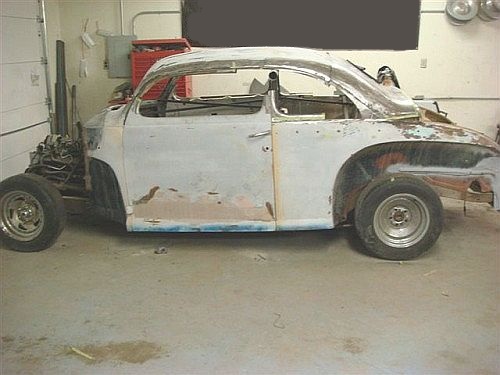
How to Chop A Top (Page 2)-Want to chop a top? This is page 2 in this series. -Trent- Chopping a 1947 Ford Club Coupe Part 2 by Pete Sanchez aka 49Flatty
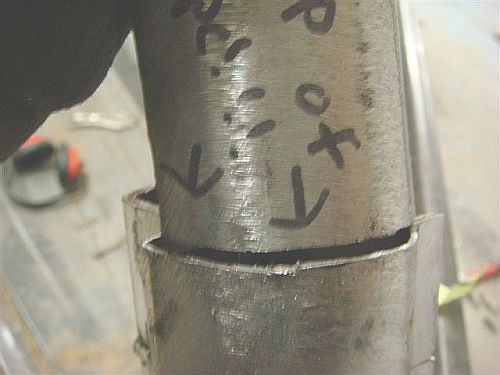
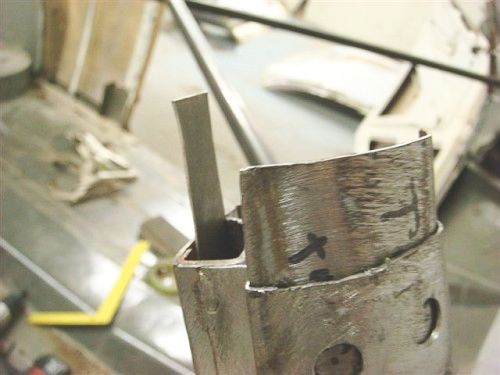
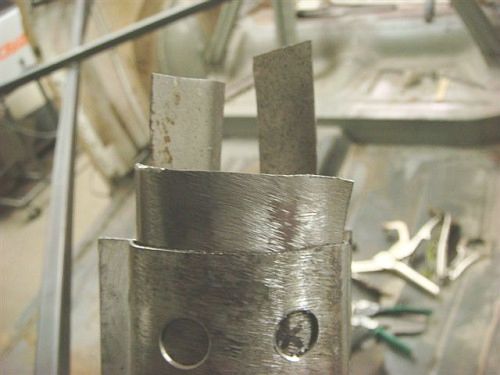
You will need some help at this point to decide how much of the A pillar you are going to cut off. Have two people hold the roof at a point where you thing it will look the best to you. Once you are happy, mark it and measure out the same amount on both sides. Be careful, too much and you will be making a Bonneville Salt Flats racer. Once you decide, it is time to put the roof back on. The next step is an important one and makes for a better union and a much stronger point. I have seen where the A pillars are butted against each other and then just tacked and welded together. If the car were ever to be in a situation where it flipped over, the roof would completely break off at that point offering no protection what so ever. We have drilled holes in the remaining portion of the A pillar still attached the body. The small piece you took off the A pillar will be used to make the union.
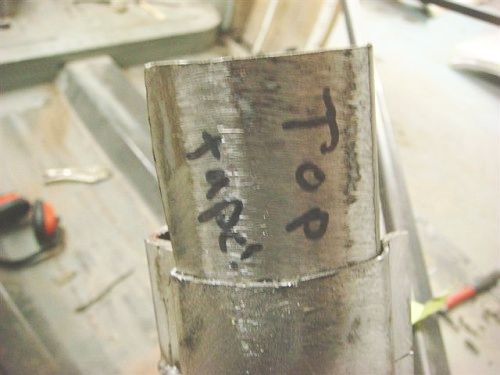
Placing the roof back on the car, you will notice the A pillars do not quite match. A short relief cut will need to be made to the bottom of the A pillars to be able to move them in to match the roof pillars.
You will notice the piece you installed in the step above actually serves as a guide and holder for the front part of the roof. This method works out quite well actually. Once it is even, screw in some drilling screws to hold in place temporarily.
The next step will require a lot of patience and some extra eyeballs. No measuring here. You will have to mock up the back of the roof in a way to hold it even. You will have to give it the proper amount of rake that appeals to you. Once you are happy with it, weld up a jig to hold in place. We used a piece of exhaust tubing and welded some adjustable uprights to fine tune the roof height.
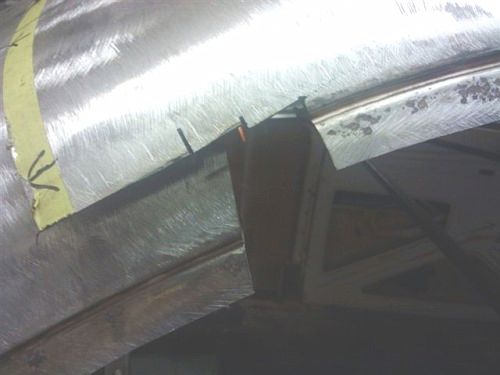
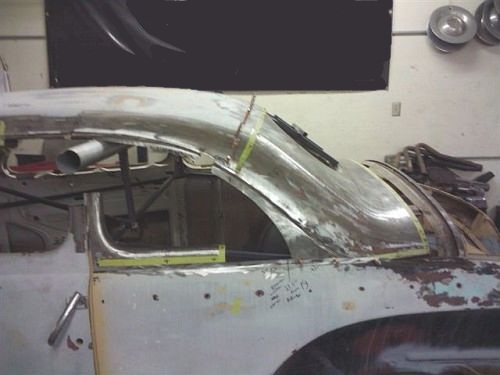
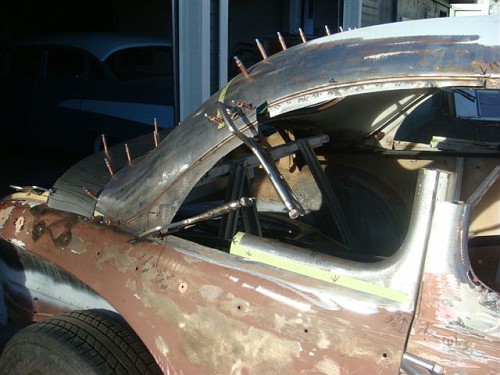
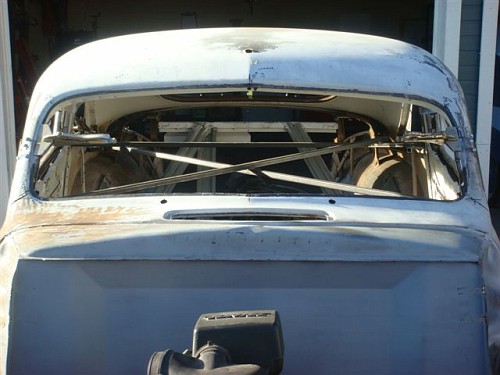
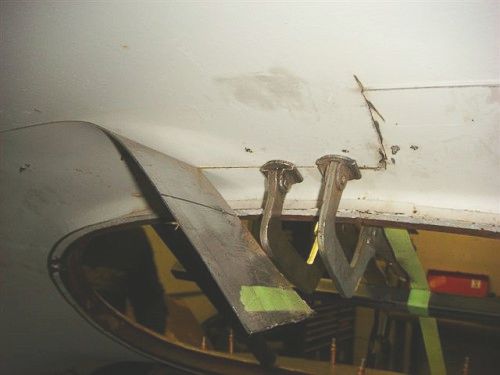
We then laid the rear portion of the roof unto the back of the car. Note how it had to be leaned forward and down at an angle to match the roof. The rear portion slid under the front portion of the roof. As advised previously, having the bracing for the back window on the inside on the window would have made this step a little easier on us.
The area above the deck lid is now about 3 inches forward and leaned inward. This portion will be addressed later.
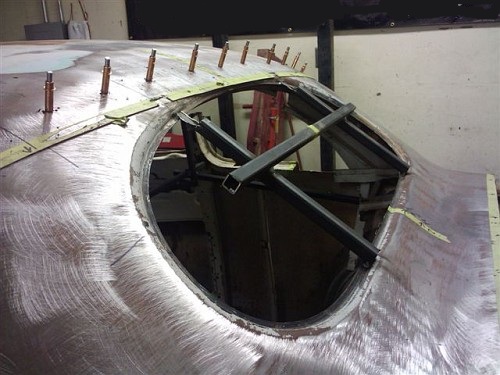
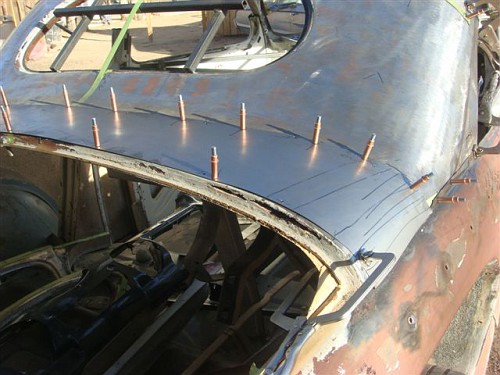
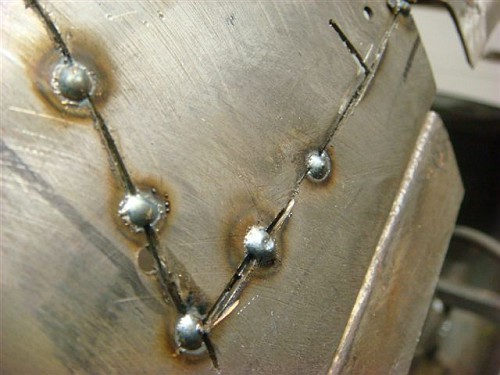
The over all shape was looking good so we drilled some holes and added some Clecos. (These are indispensable for a job like this). The overall roof line was looking great, but as you can see the vertical lines were off. This means the back portion of the roof was "clocked" to much to the right.
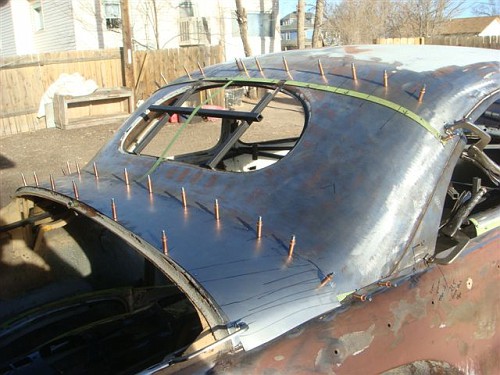
With a little finesse and more "patience" we were able to move the roof to the proper position. The front part of the roof kept wiggling side to side so we tacked the edge of it to the exhaust tubing to help keep in place.
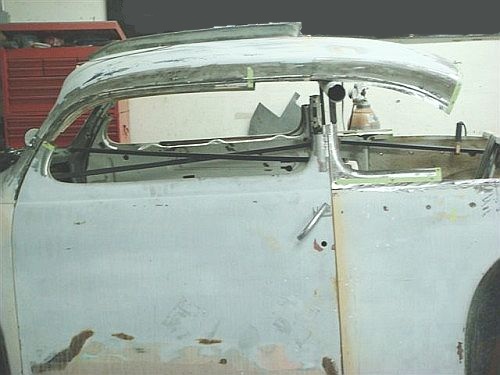
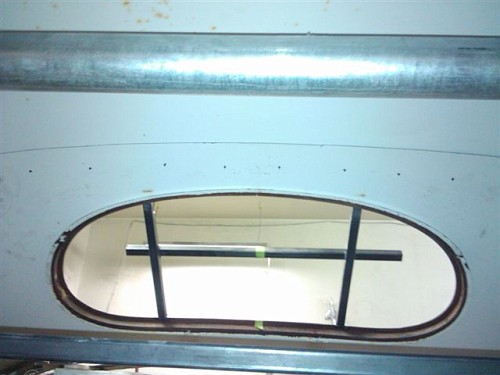
This shot of the inside show how well the two roofs meet together.
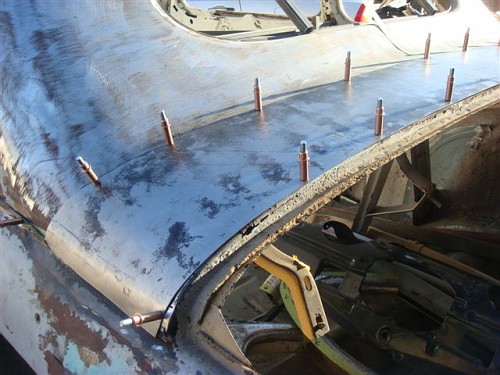
Once all the Clecos are in place, you can cut the tack off so the rear can be located at the proper position. By proper position, you want the decklid, the area above the deck lid and the rear window to make a nice swooping curve. Too high or too low, the lines will not flow. Once you are happy, add some more clecos on the bottom of the C pillars to hold it in place. As you can see from the cut tack, our roof actually went up about a ¼ inch.
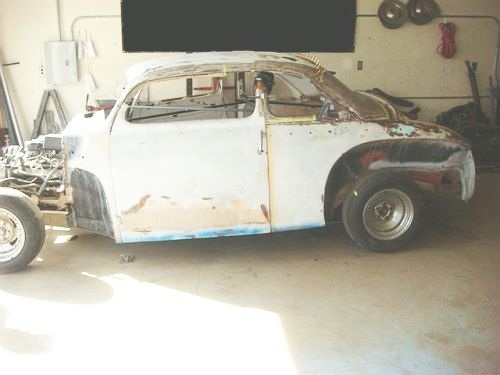
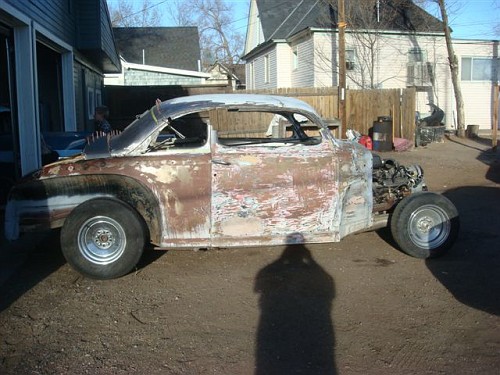
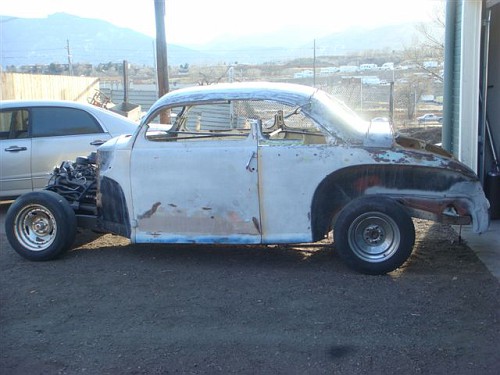
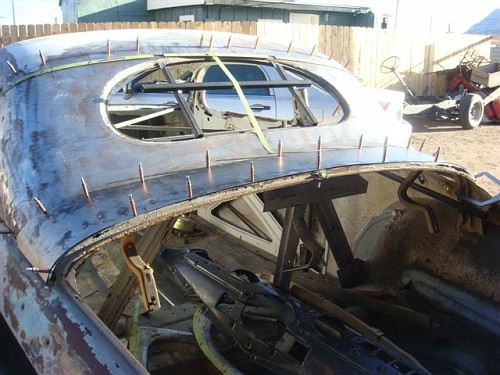
A quick glimpse of the chop taking shape.
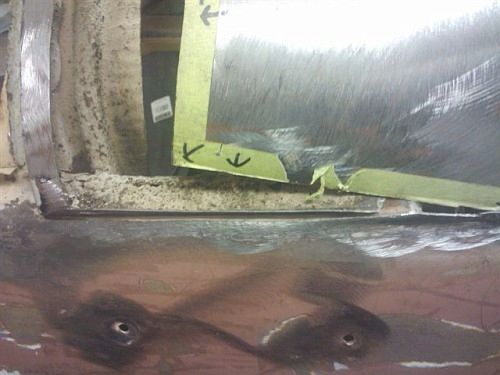
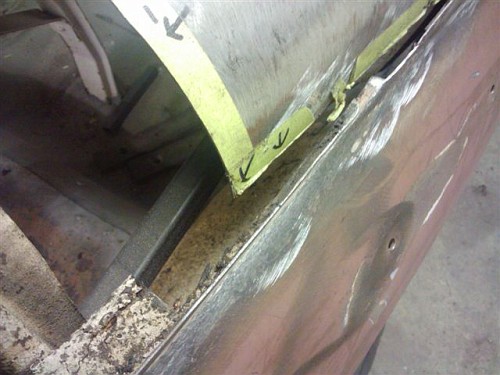
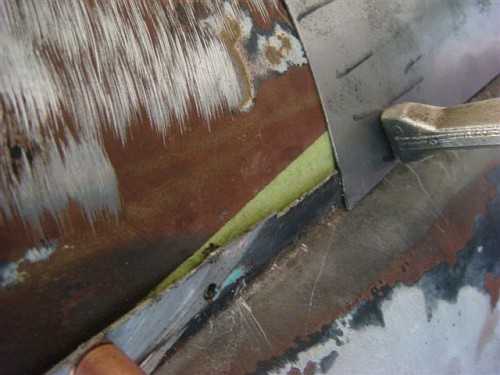
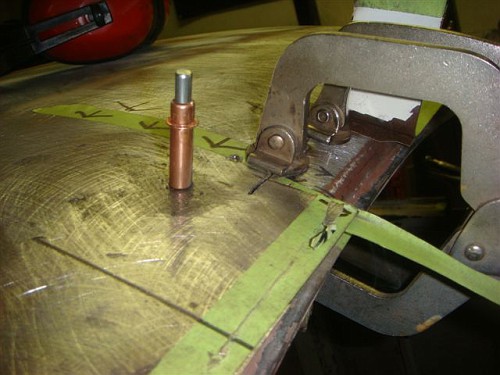
The deck lid piece is next. Since the angle will be different now, cut slits along the edge of deck lid opening. This will allow you to push down the lip to meet the correct angle.
Once at a better angle, tack them in place.
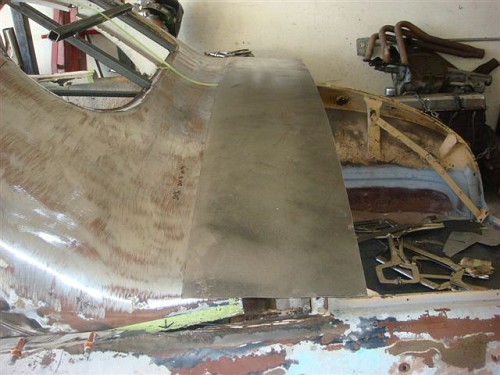
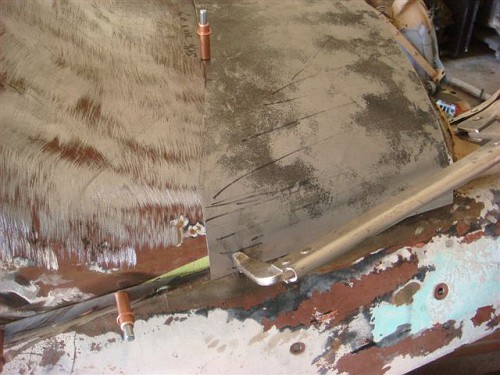
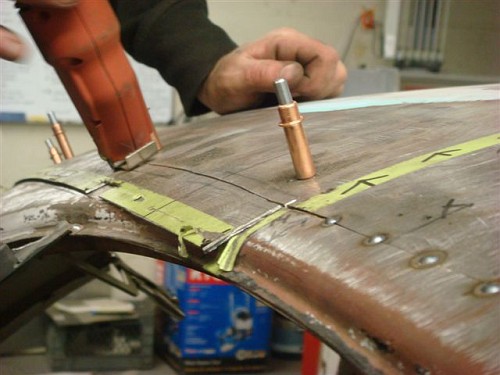
We cut a piece of sheet metal wide enough to cover the open area created by sliding the roof forward and long enough to reach each side.
We highlighted the areas that need to get formed. We used a buck Shannon had made previously for such a job. The key to this portion is to make sure the metal does not lift up as you are forming it. We drilled and installed Clecos along the way starting in the middle and worked our way out. You have to install the piece using the clecos, remove it, form it a little at a time, reinstall it with the clecos and check the fitment. This is very tedious and slow but well worth it. Might I suggest two cleco pliers and two people to install them; it cuts the time in half.
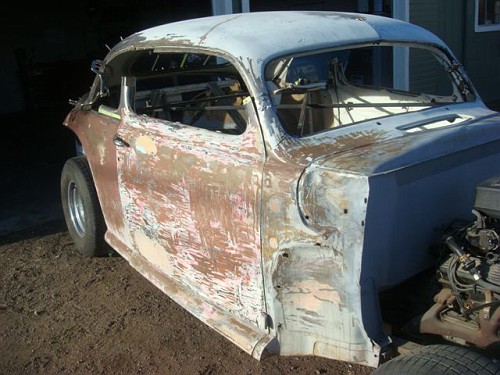
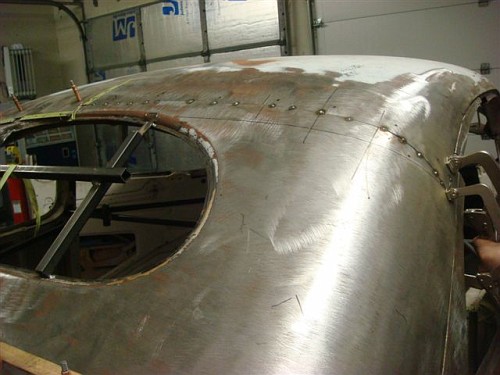
Here is the final shape.
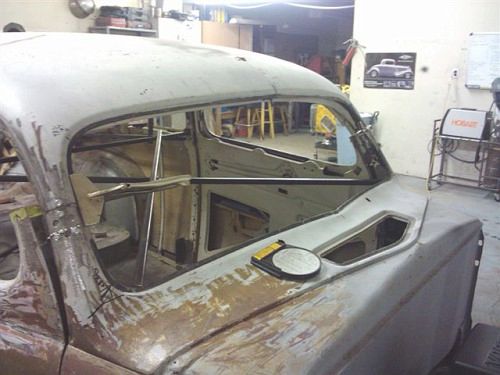
Think that was it? You are only 1/3 of the way done!! Next is fitting all the panels and cutting off the excess.
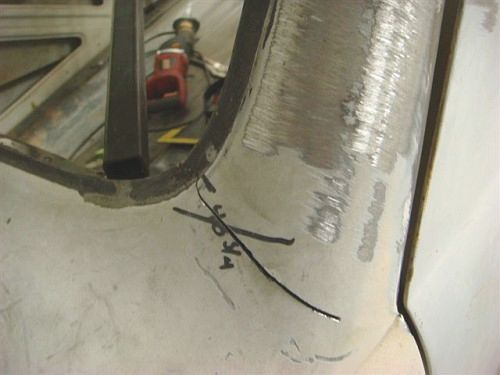
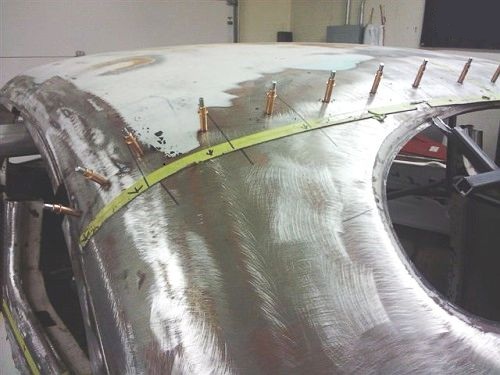
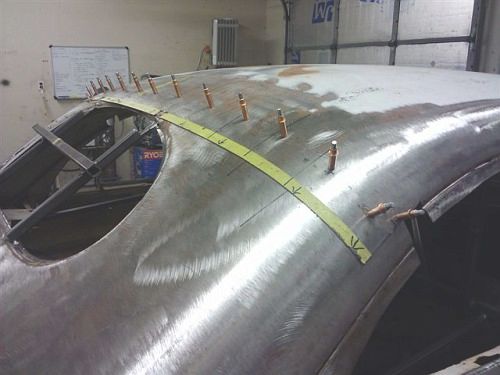
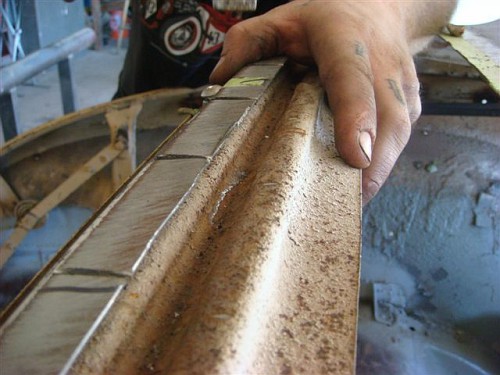
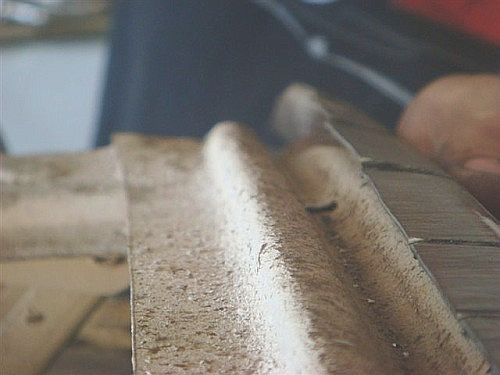
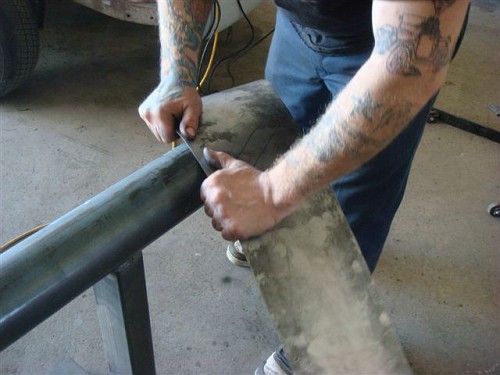
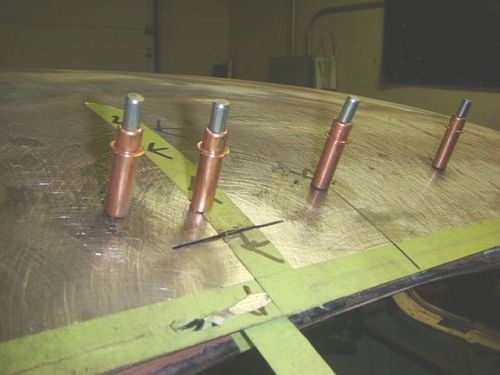
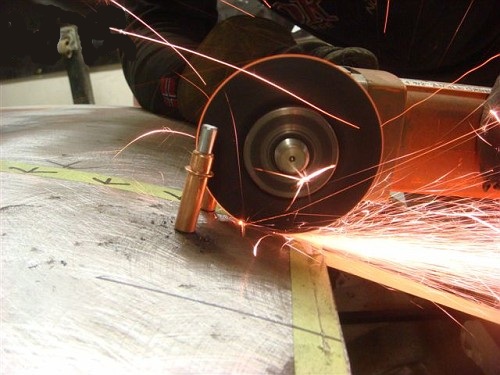
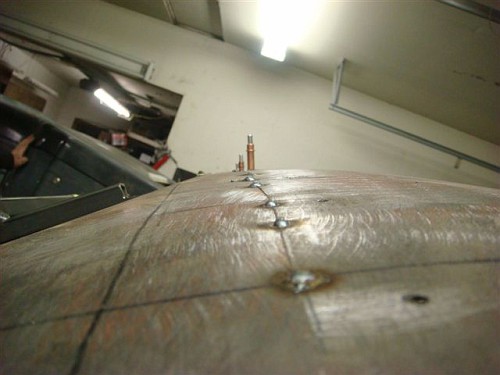
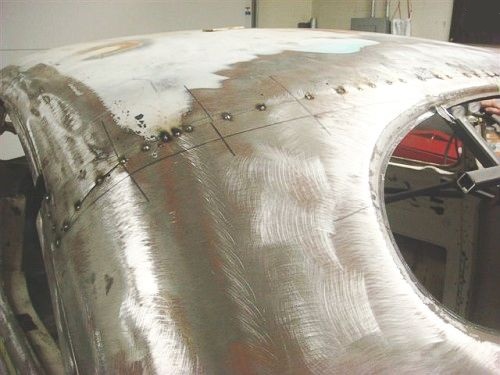
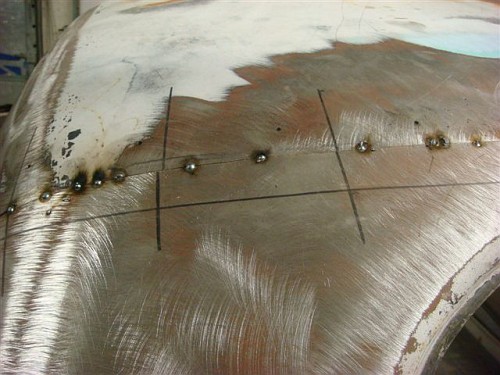
Use the electric grinder with the cut off wheel and start a cut on top. Make a small "T" with another cut.
The previous cuts will allow you to see where the metal needs to cut from inside the vehicle. Finish cutting the bottom metal from the "T" cut. Continue toward the front of the car and be careful not to cut through to the upper overlapping metal.
What's the reason for doing it this way you might ask. Overlapping the metal might seem like a good idea but eventually will get rust and moisture in between the two pieces of metal and it will rust. Not to mention all the mud that will be needed to fix this step. As one person is using the electric saw from the top, the person inside the car, wearing gloves, face shield and safety goggles I might mention, is pulling the cut off portion away from the saw. This procedure leaves a small and perfectly matching line which can be tacked, welded and metal finished. The clamps help it hold the panels in place as the cut is being performed.
Once tacked in place, start on the other side.
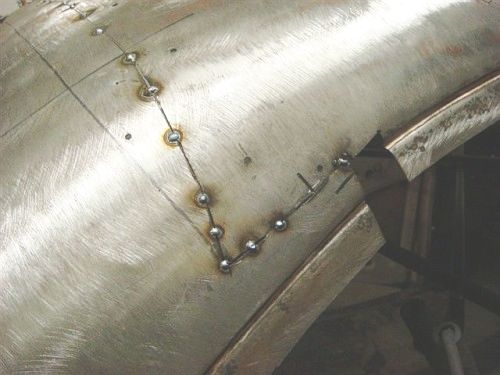
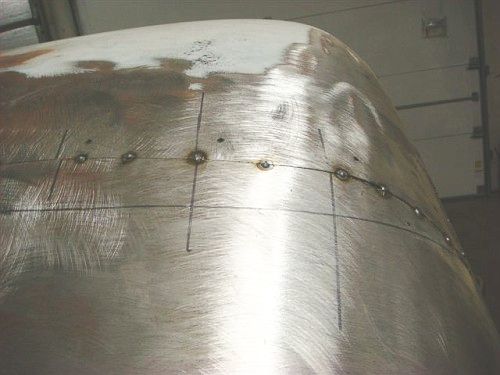
Note the lines that were drawn on the roof prior to cutting it off are close to matching even though a 6 inch piece was taken out.
Return from Chop A Top page 2 to Bodywork
|