|
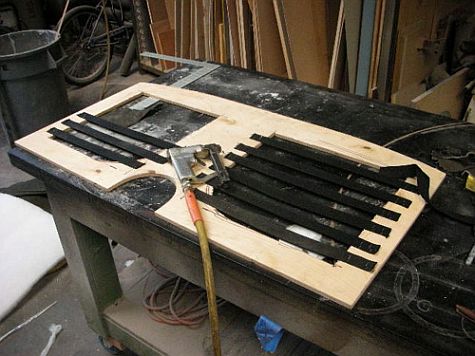
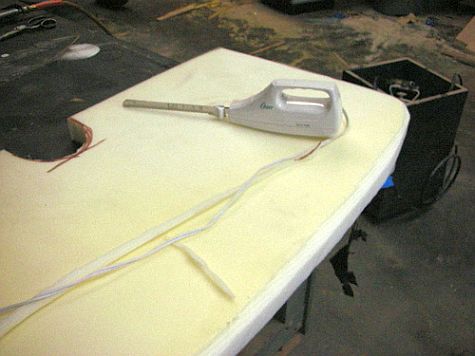
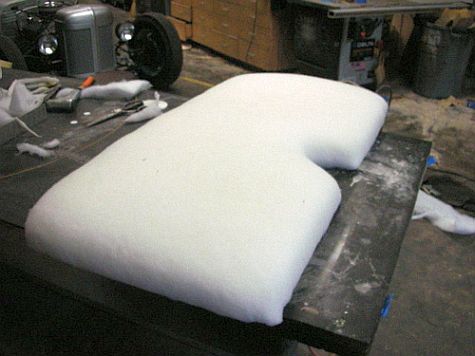
Cheap and Easy Upholsteryby Chris Casny Here is a little tech on cheap and easy upholstery. I did this for my Nash roadster. The fabric is a navy green colored tarp material that is sold here locally at OSH or the Army surplus store. This material is water proof and durable. Making the seat and backpart, keep in mind that the human body likes to sit at a 105 degree angle, or 15 degrees back from a 90. So before I cut my plywood substrate, I fabricated all the necessary brakets, to achieve the desired back angle. I dont know how to use the sewing machine, so nothing is sewn here. First I take some 1/2” plywood making sure it is nice and straight, CDX might be a little to warped, I used baltic birch but shop birch ply works great too. I cut my shapes to my templates I made earlier from card board. For the back rest I’m using 2” thick fairly soft foam. After a test sitting, it felt like the back was still a little stiff, so I decided to use some webbing.
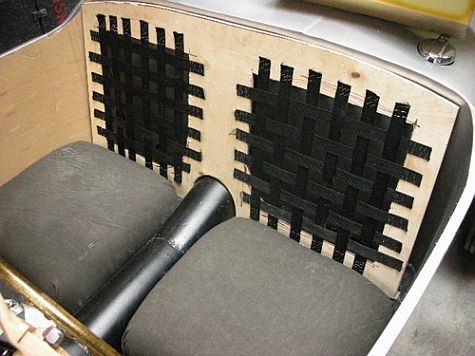
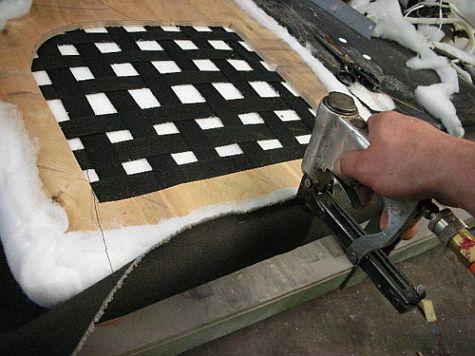
The back plywood got two big holes were the driver and passengers backs would be located. The next step was to staple the webbing material to the substrate. That webbing has a name but it don’t remember, the same stuff that tiedown straps are made of, some sort of nylon stuff.
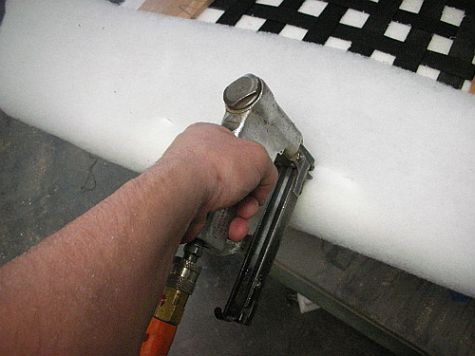
All the webbing is woven, keep the webbing pretty tight since this material will stretch slightly over time. BTW, for all my stapling, I’m using a profesional Senco pneumatic gun, but a Stanley T-50 manual gun will work just as well.
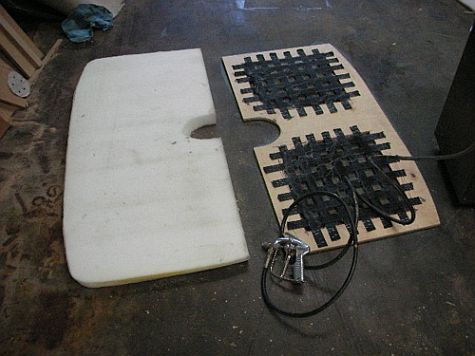
Glue the foam to the plywood using contact cement, I used an industial grade gun and glue set up, but 3M spray 77 or 90 will work just as well. Spay both surfaces and let dry, after a few minutes attach the foam to the substrate.
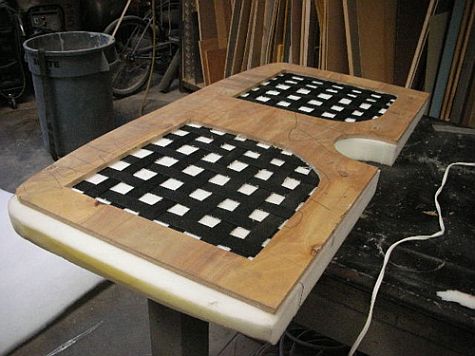
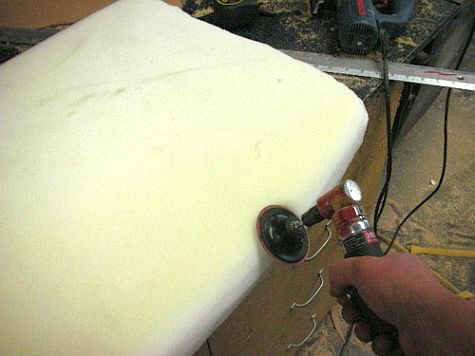
Next, cut the foam to the desired shape, I used an electric bread knife. Shape or round over the edges using the bread knive and then clean it up with a die grinder.
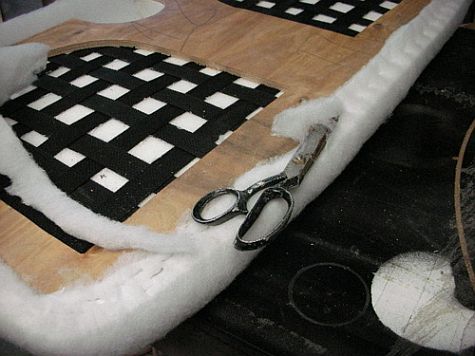
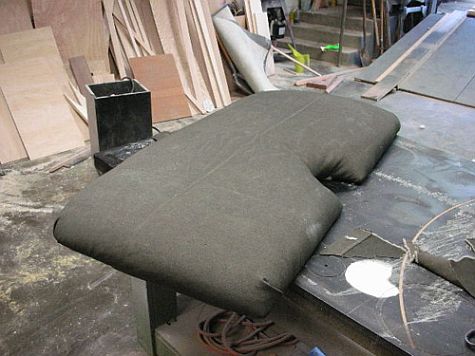
Next step is batting. Batting is a light cotton candy looking material to further shape the backrest. I glued the batting onto the foam using the contact cement, then folded over and stapled down on the back side.
Cut off the excess batting with scissors.
Next, I precut the navy green material. I did not glue it to the batting, so it’s removable, if I ever had to. Staple it to the back side, starting at the center, working your way left and right, go to the opposite side, repeat, leave the corners for last. Since I did not sew anything I had to put a fold in each corner.
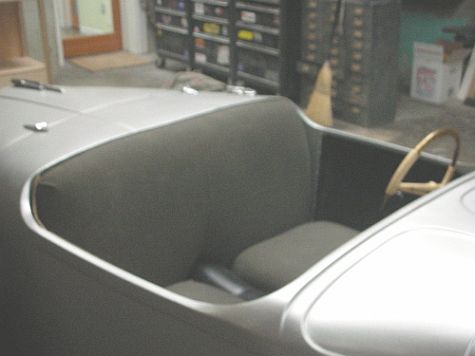
Done, cheap easy and most importantly comfortable. This is by no means a professional job but I like it, and it maybe cost me 100 bucks.
Return from Cheap and Easy Upholstery to Hot Rod Interior
|