|
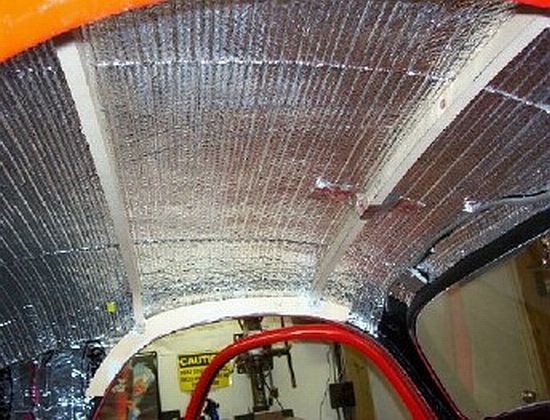
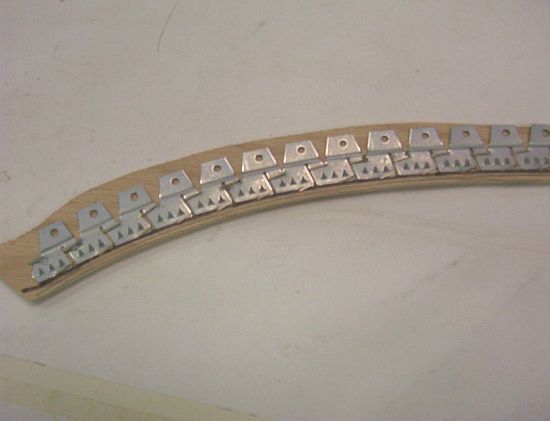
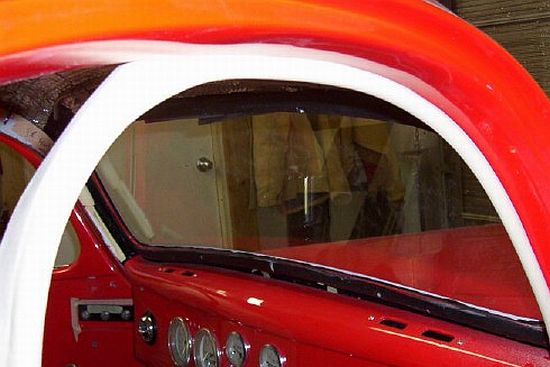
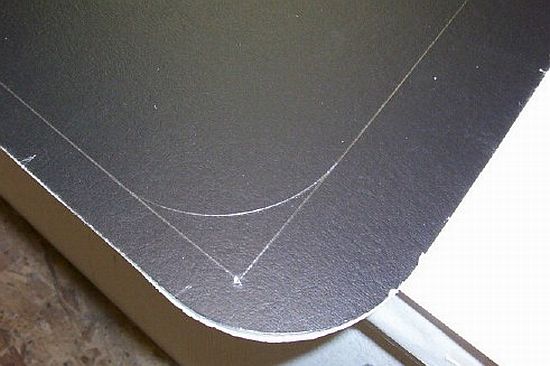
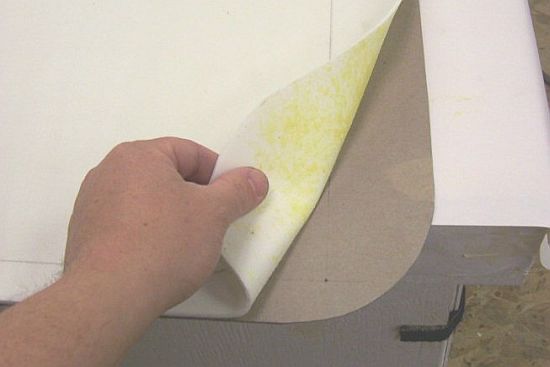
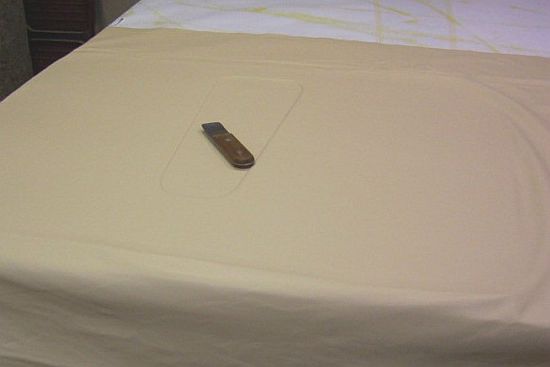
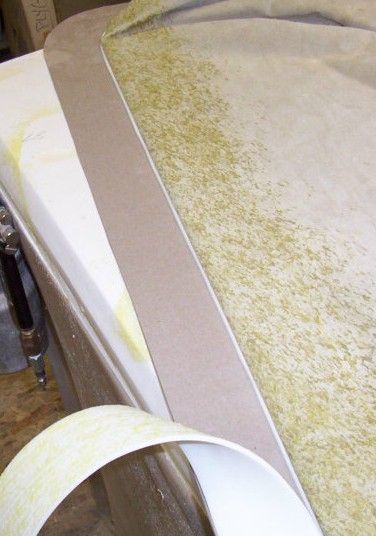
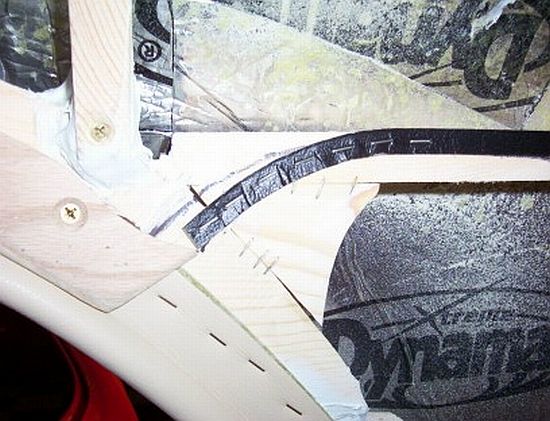
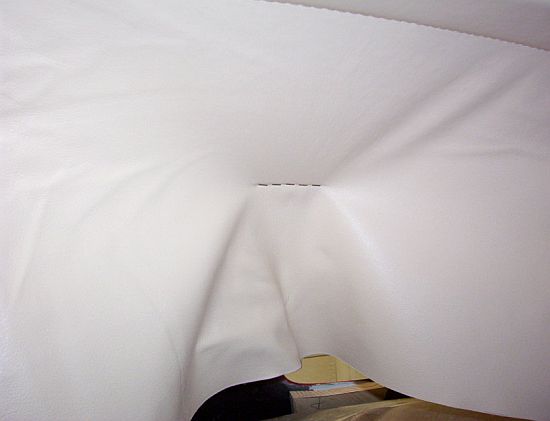
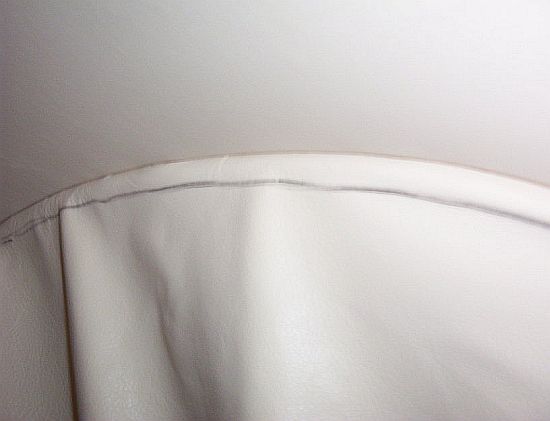
Headliner Installation - A Neat New Custom Way!-Trouble with your headliner installation? Not sure how to go about it? While every type of car is different, the lessons here can be used on any car, from stuff to use, things to look for, and things to take into consideration. Plus, it's custom! -Trent- Coupe Headliner Installation by Shawn Appleman aka "Skipstitch" The following pic is of a headliner we did in a '32 plymouth. It's a realtively simple process that we've done time and time again in cars from Model T coupes to cars as new as a '48 Chevy sedan. Although this one is of a contemporary design... You could do one with a tuck and roll insert. I'm startin' one in a '41 Willys coupe. It does require a stitch around the outter edge by an industrial machine, Some good contact cement, a hand stapler, a piece of thin cardboard, some foam and an item called Plygrip (available from any furniture repair shop). With a few instructions, anyone can handle it...
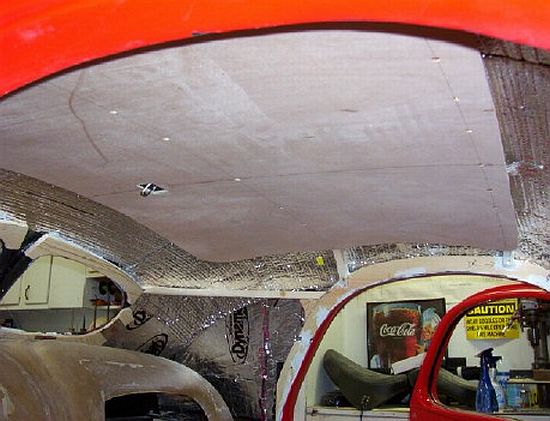
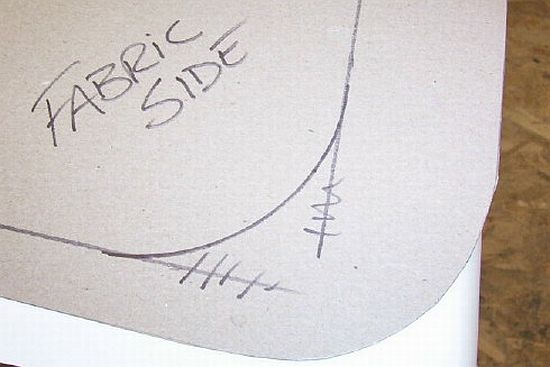
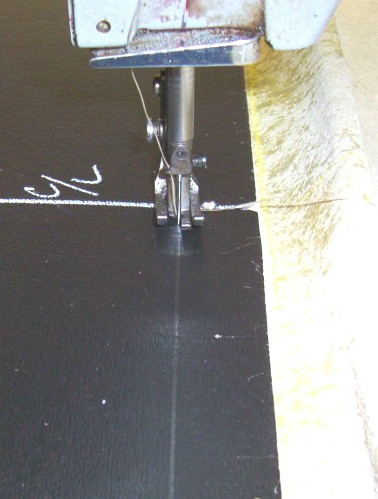
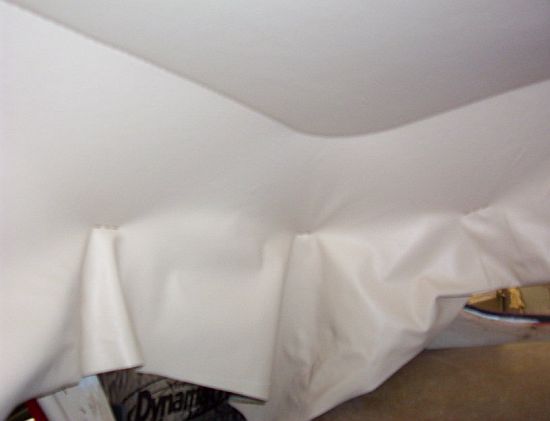
nother...in a '39 chevy sedan. It shows the stitch line a bit better.
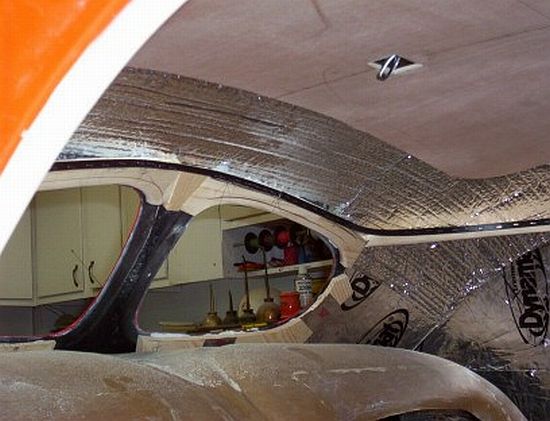
Okay, here we go on the first installment. Step one. Be sure you have good mounting points to attach your headliner to. Most early cars have wood and later cars have some wide metal bands that work well. The thin stock headliner wire bows will not work, as you'll soon see. If you need to make new or non existent ones I suggest makin' them out of wood as it's easy to screw into. Here are two main bows in the Willys. No ryhme or reason to the placement. It just made sense to locate them here....
Next up... cut a piece of 1/4" luan plywood to fit the headliner. It should go as far forward and back as possible as well as side to side. The curvature of the roof and how big the door opening is will have an effect on the size, but the bigger the better. Once it's cut and you're happy with the fit, CENTER IT and screw it in place. Being centered is crucial to how the end result turns out!!! Sometimes additional braces may be needed around the edges to hold the luan in place (mostly in larger cars). Keep in mind it must easily fit through the door opening as your final piece will need to as well when it's covered in glue. It's a good time to locate any domelights or overhead consoles as well.
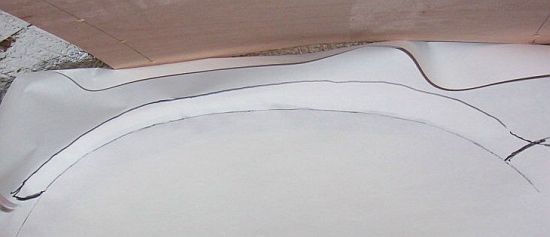
Take a piece of butcher paper, spray the back with 3M 77 glue and press it to the top of the door jamb. Trace the opening along the top and exactly at the door opening edge. Generally speaking stop the front just after the door top turns down and just short of that in the rear.
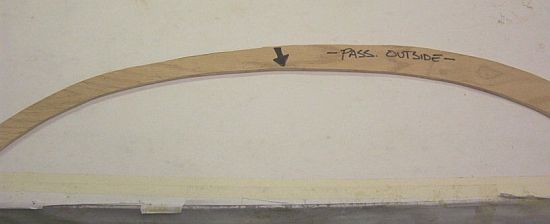
Now simply transfer that paper pattern to a piece of 1/4" luan and cut it out... be very careful to make sure the door opening edge is smooth, without wobbles and matches the opening. Like a paint job, prep time taken now will make the final product look better....
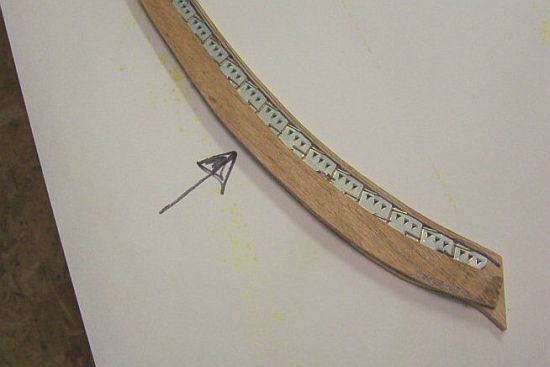
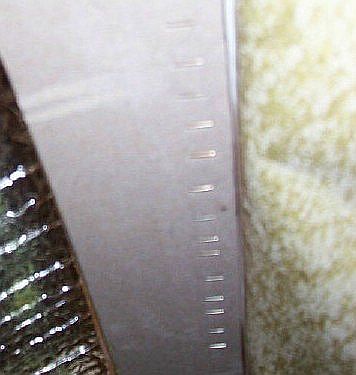
Okay, now for one of those things you MUST take a BLOOD OATH to know!!! This is the all important above door gripper... similar to whats in Pinto's and '55-57 Chevys. Okay, now some magic dust..... You'll need a length of product called Ply-Grip. Furniture repair places can get it. It has little rows of sharp teeth on one edge. Position it as the pic shows about 1/8" above the inside bottom edge of the wood piece you've created and staple with a heavy duty stapler in place.
Then fold and staple the top portion of the tin down and out of the way... if it sticks up past the wood, cut it off...... Repeat the above for the other side. On early cars, plan to pattern both sides from scratch. They are rarely the same....
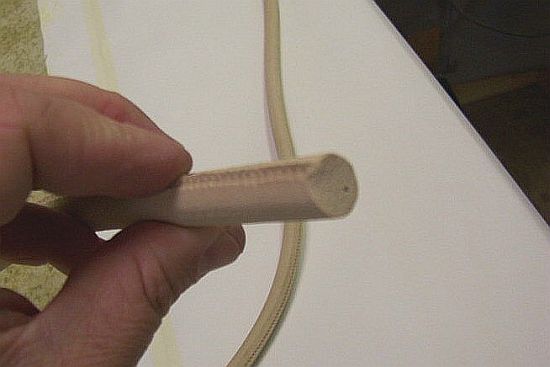
Next we gotta address windlace. I know it's not headliner, but without partially installing it we cannot move on. We use 1/2" sponge rod. Available from any auto upholstery shop. Here it is in da raw...
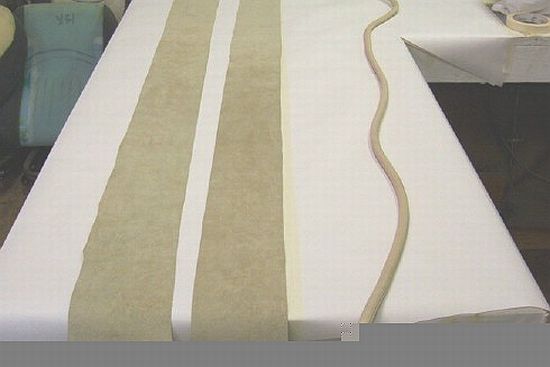
Cut yourself strips of material 4" wide per door the length of the opening. In this case we're usin' bone colored leather. This pic shows both strips and one piece of sponge rod. Spray contact cement on the strips of material. I suggest using industrial contact cement for best results...again available at auto trim shops. Spray it on allow it to tack up. We use three coats of glue before working... I glue windlace cause I could NEVER stitch it tight enough to please me.
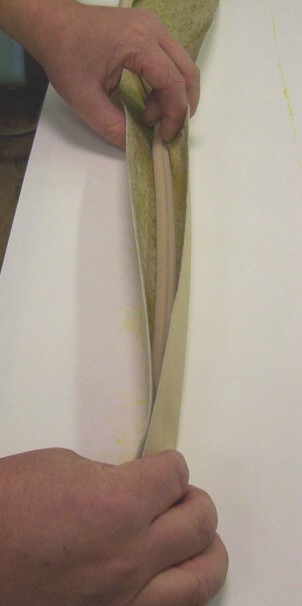
Once the glue is ready, center the core and start to pull the material around it. The core we use as seen above has a raised flat area to use as a guide. Make sure the core doesn't twist or the windlace will look wobbly.... Then....
Move back about 8" and repeat... close the material around the core. Repeat this to the end. Again be sure not to twist the core...
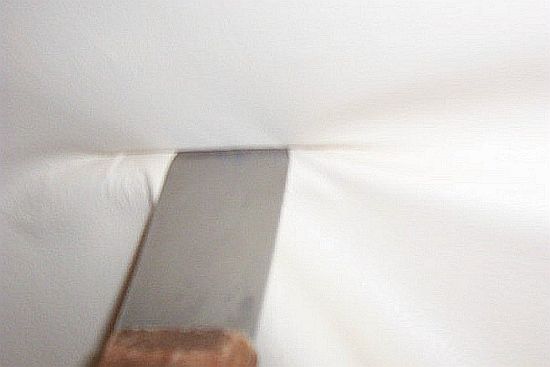
Once it's all glued together, follow up by pushing a dull putty knife into the core. this will really tighten the windlace up for a tight, clean look...
To install the stuff, hold it into the door opening. Make sure the crotch of the lace is seated against the door edge and staple in place. Stretch it slightly as you go to keep it looking tight. NOTE: If your car has metal door openings, glue the lace tightly in place with contact cement and then pop rivet in about every 1 1/2" to insure it will stay put...
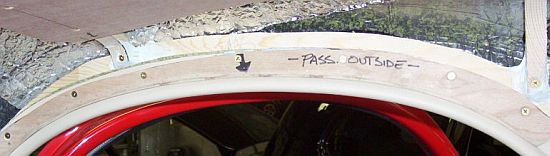
Next it's time to install the grip strip... Upon holding ours up, we noticed it needed an 1/8" spacer on the back side so it wouldn't crush the teeth when screwed in place. The simple solution was a piece of 1/8" luan stapled above the ply-grip to hold it out....
Finally land the grip strip above the lace edge and screw it in place. You can see here why it's crucial to have a smooth bottom edge... Your headliner will eventually wrap around this edge... There's secret #1... But I have one more for tonight....
Now, I don't have a pic for this...but you'll need a piece of thin upholstery cardboard (auto trim shop available), sometimes called chipboard or package tray board... Cut it to the exact measurements of the 1/4" luan in the second step. Round the rear corners with a large coffee can and the front corners with a spray paint can. Mark a center line on the front and back sides of it.
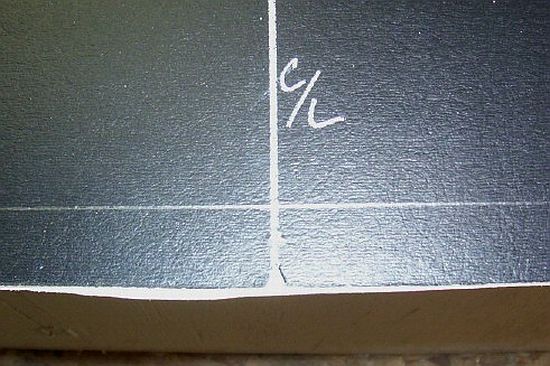
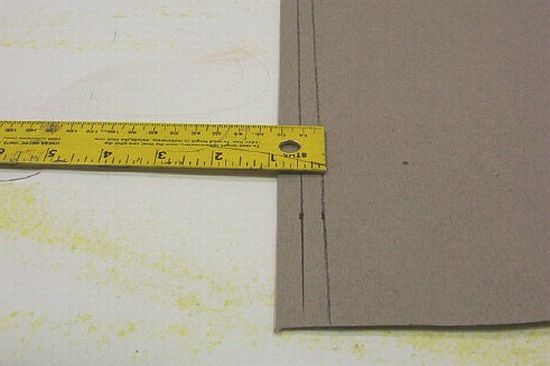
Next up, you'll need to decide how far in you want the stitch line to be on the final headliner. Go in the car and take measurements of how far the stitch will land.... start with 1" in from the edge of the 1/4" luan. When you measure from that line to the door edges/ windshield edge/ rear quarter edges, the distance should be similar... For example... Mark a line one inch in on the front edge of the headliner board. From that point, measure forward... if you hit the windshield at 6"... then all side should measure in on the board to create the same distance. On our 'liner. The measurements were 1"front and rear and 2 1/2" on both sides to keep a stretch 6 1/2" all the way around.... Hopefully that's as clear as mud... Transfer those measurements to the backside of your thin cardboard and round the corners as before. Draw them as dark as you can with a pencil and with a straight edge.....
Then transfer the same perimiter stitch line to the front of the cardboard...
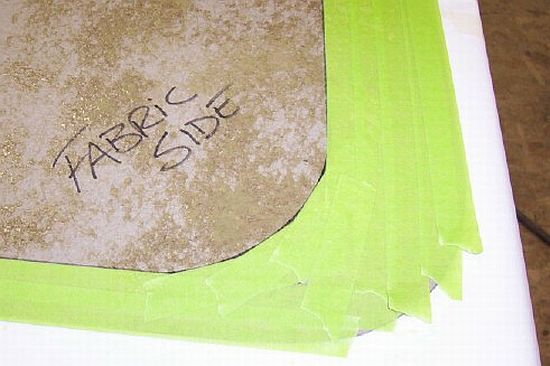
And mask it off from the line out... Spray glue on the center (three coats) and spray glue on a piece of foam larger than the cardboard (not pictured). You can use any thickness of foam up to 1/2". We choose 1/8" closed cell for that crisp tight look. It's very, very important not to get glue outside of the stitch line!!!
Remove the tape and once dry, flop your foam over on the cardboard. Flush cut the foam with the cardboards edge (NOT the STITCH line) to get rid of some bulk. Then transfer that line a third time to the top side of your foam... seems like over kill but in the end it'll make sense....
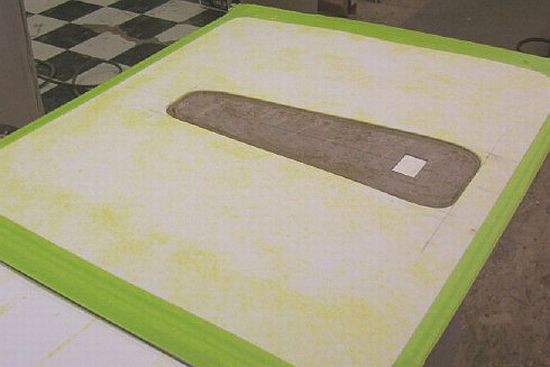
Here you can see ...this far... why it's important not to glue anything outside of the stitch line...
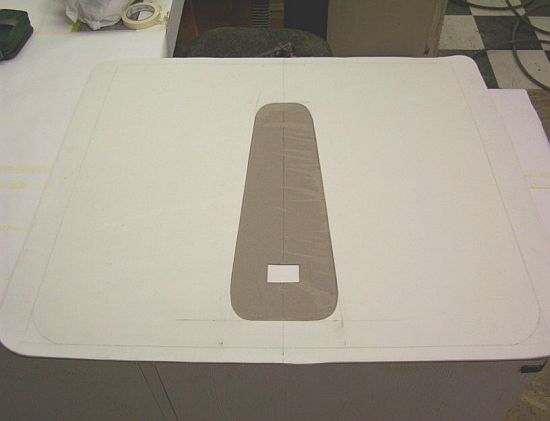
Here's a pic of our foam attached to the cardboard, a sew line marked around the outside and a depressed area in the center for design around our dome light....
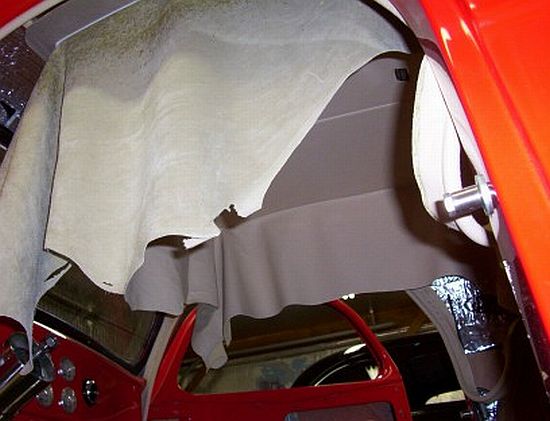
Now, flip the cardboard/foam piece over on your material and center. Be sure to allow a plenty of flap around the edges to stretch with... You would hate to install this much work in the car and find out a corner is too short!!! Trace around it with chalk or a grease pencil and mark a center line...
Flip board back over and as before mask off outside the sew line. Glue the center of the foam and your material....
Allow to dry, unmask, and flip the board over on the material. Turn upright and smooth the material out, workin' it into any design you have cut....
Now for the top secret blood oath stuff #2... Turn the entire piece upside down and place it under the sewing machine. Starting at the rear center of the headliner, line your needle up with your pencil drawn stitch line. I sew from the back side to keep from trying to follow a 1/4" wide chalk line on the material side. It's much easier to follow a line as wide as the needle..... And as a beginner, you can turn the machine by hand one stitch at a time to keep straight!!! Takes awhile, but trust me I've done it (about 10 years ago!!!) and....SHHHHH...don't tell anyone... it's how I still turn the corners for a clean look. Also be sure to keep the tail pulled from under the headliner as you stitch. You don't want to sew it under the sew line!!! (also from experience).
Once sewn, turn it over and pull all the flaps in....
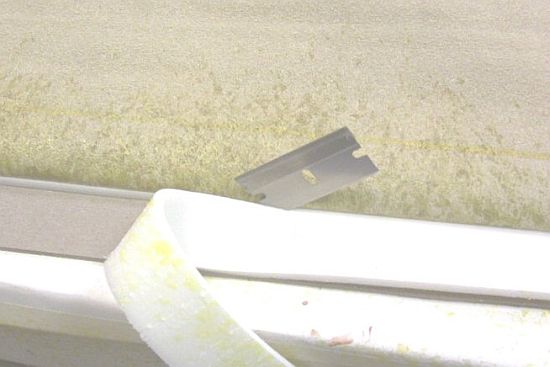
This one isn't for the faint of heart... take a razor blade and cut the foam off out side the stitch line.. BECAREFUL not to cut the stitch or the flap....
This will leave the cardboard beneath exposed... This will come into play later....
Finally, you can flip the entire piece over. It's startin' to look like a headliner. Next we'll head into the car for a bit more prep around the rear quarters and back window...then it's installation time....
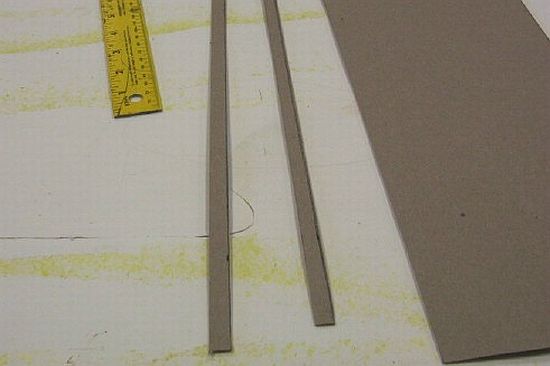
Now here we go for the last installment (Pun Intended) Our first job for this morning was to cut a couple of 3/8" wide strips the length of a piece of thin cardboard. Here they are simply marked up for reference...
and cut...
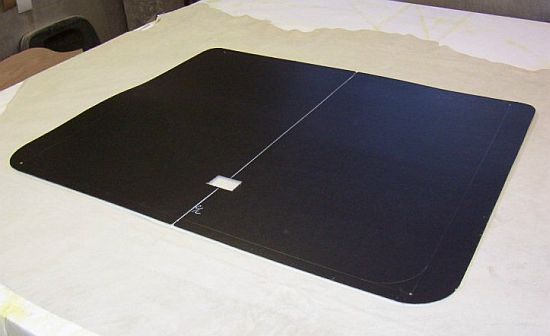
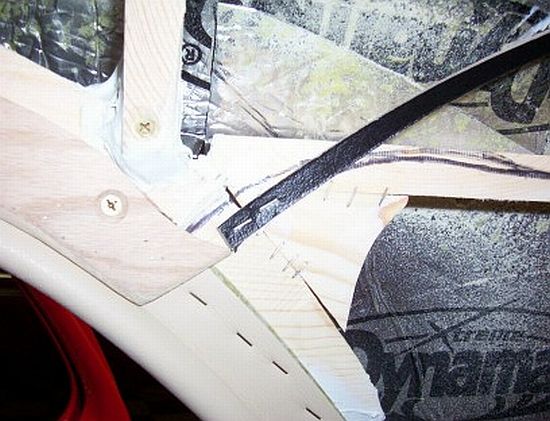
Next head to the car with your staple gun... a hand operated non air stapler will work as well. I've flipped the cardboard over to expose the black side just so it would show in the pix. What you want to do is line it up with the back edge of your above door grip strip and sink a staple or two... What we are creating here is a quick simple cheat to be sure the rear of our headliner gets stapled straight...
Continue rearward... You'll notice I work in a bit of a curve. That's just how I like my sail panels (the rear quarters) to look against a headliner....
Repeat on the opposite side (you may need to create a pattern from the 1st to get the second looking the same)and work around the rear tack stip untill you have a complete guide strip of card board from one door to the other...
Now get outta the car... it's time for the fun stuff!!! Spray contact cement on the backside of the headliner cardboard and on the 1/4" luan in the car. Again, we use 3 even coats allowing time for drying in between. Don't rush it... this is always a good time in the shop to read hot rod books! If you're wondering what we use for spraying the glue, it's simple. A $20.00 paint gun... the cheaper the better cause the tolerances aren't close and the glue doesn't clog it up. The guns work for about 2 years and then we toss it and buy another...
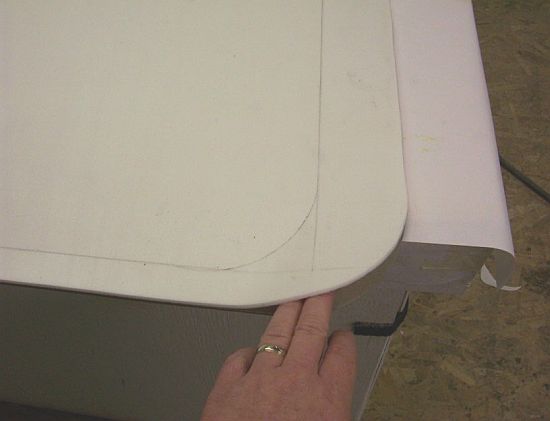
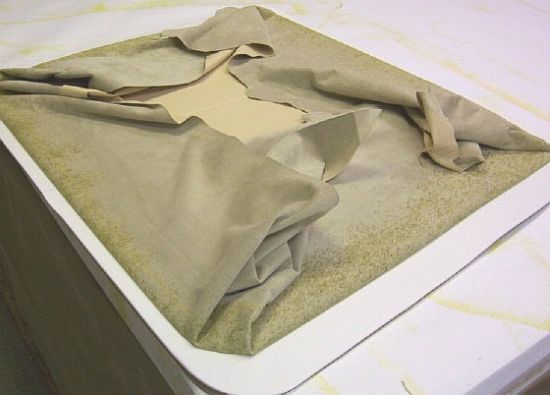
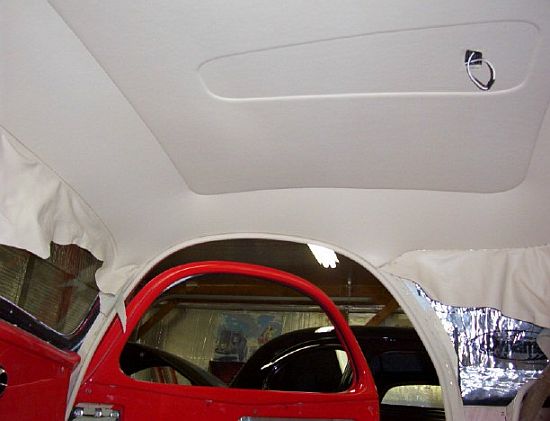
Once you've waited for all 3 coats to tach (nearly an hour in the shop today at 70 degrees) it's time to put it in the car. YOU WILL NEED HELP... with another person carefully put the headliner in the car. With your helper at the front of the car and you in the back, line up your center marks (you did mark all of them as described right?). Then be sure you are set even with your 1/4" luan front to rear. DO NOT TOUCH this to the roof wood until you are CERTAIN you are square... if one side of the cardboard contacts the roof wood it will stick instantly... with terrible results if you try to pull it free!!! (again from experience). When you are happy with it being square...stick it, and rub the entire piece to make sure it's set. This is what you should look like now...
Now looking up into the edge you will see that extra cardboard sticking out from the sewline. Fill that sucker full of staples. It's just extra insurance to keep you from pulling the stitch line free from the luan when you stretch the edges....
Now for the fun... starting in the rear center of the headliner, pull the tail tight...really tight. Set your stapler against the tack strip and slide it up till it stops at your cardboard guide strip. Sink a few staples...
Now move to one rear corner and repeat... Then the other rear corner... Then between the rear center and rear corners...etc. Pull the tail tight as you go and you'll be surprised how easily it all straightens out...
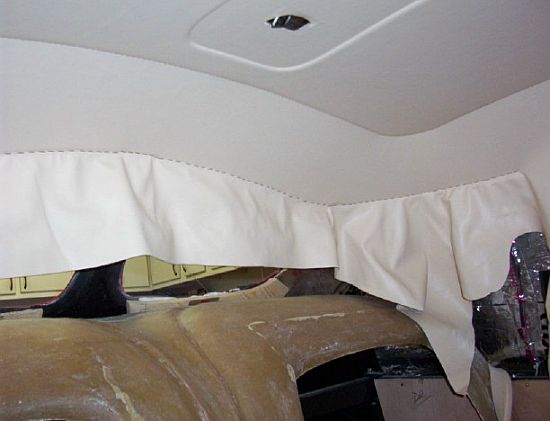
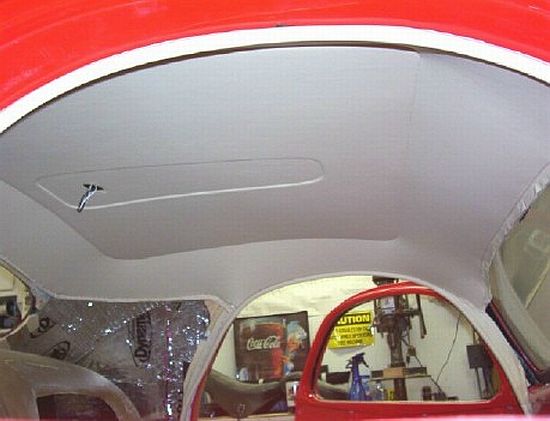
This is how it should all look once you've stapled the entire rear section. See how easy that cardboard guide strip made the install? At this point resist the urge to trim the tail hanging down... Just in case an adjustment would need to be made before you're finished...
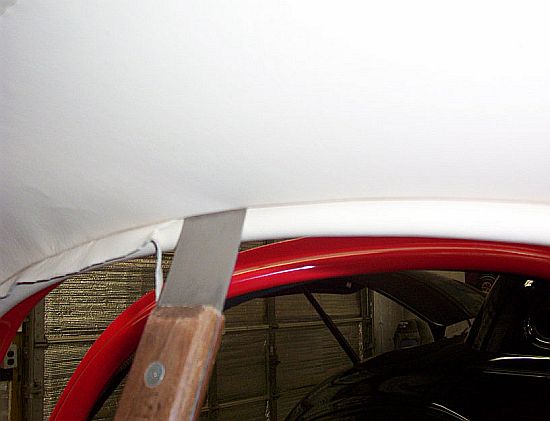
The next thing to do is to move up front... no pics of this... but in this car we glued the tail into the windshield opening. Again starting in the center, then the outter edges and in between just as the back was done. Some cars have a tack strip in the opening to staple to. Above the doors you will need a dull putty knife. Starting in the center of the door opening, pull the tail tight and stuff about 1/8" under your gripper strip...
Continue, center to front and rear of the opening... just pulling and stuffing that amount. Once finished, we mark the edge of the windlace with a grease pencil and carefully cut the tail off with scissors... Again be carefull not to scar the windlace under it....
Once it's cut, stuff the short tail up under your gripper strip. The ply-grip teeth will hold the tucked edge great!!! If the entire tail won't tuck under, you may have to trim more off... just go slow and only trim off what needs to go, to be sure the teeth catch the tail.
Once you're stuffed, tucked, stapled and glued... you should have a headliner with a tail sticking down.
When you're satisfied everything is straight and tight as a drum, trim the tail within' a 1/4" of the staples in the back and trim the windshield against the glass (in this pic I havn't done the windshield as I'm waiting for the customer to deliver his painted windshield garnish trim moulding). That's about it... not quite 3 simple steps, but it works pretty well in any car up to 1948. Newer cars get too wide for standard upholstery materials...They can be done similar,but that's a whole different can of worms!!
Return from Headliner Installation to Hot Rod Interior
|