Cheap and Easy Door Panels
by Automotive Stud
Here is a little tech on cheap and easy door panels.
Ok, again I'll have to apologize in advance for the lack of pictures. I took more but I can't find them.
I had original panels in my '47 Ford that were covered in cheap vinyl a long time ago. It was time to do something nice. Under the vinyl the original cardboard was good for templates.
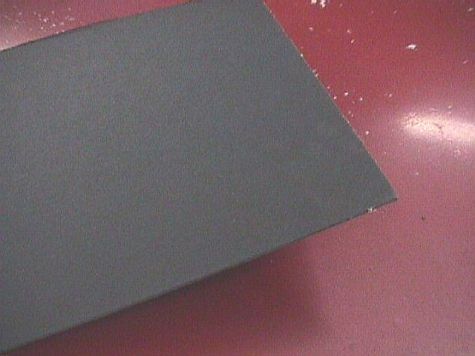
I got most of my supplies from a local upholstery shop who doesn’t mind helping do it yourselfers. I used a heavy cardboard he had just for this sort of thing, but you could use masonite or thin aluminum just the same. The cardboard was 4' x 3' sheets, $12 each. So it took a sheet for each door, and one sheet was barely able to do both rear panels. A fourth sheet did the kick panels. I used another 3 sheets to redo the trunk cardboard, but I didn't cover that in vinyl (yet!)
The cardboard...
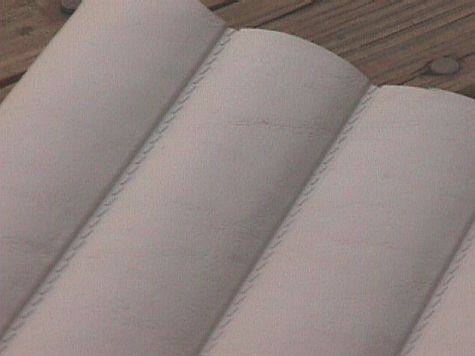
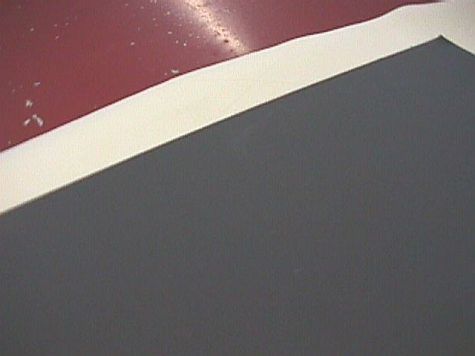
He also supplied me with marine grade vinyl. I used pre rolled and pleated stuff that is foam backed for the bottom, and smooth vinyl for the top.
Smooth vinyl...

Rolled and pleated vinyl...
I also picked up some 1/4" foam to put behind the smooth stuff to give it a nice feel. I used some 3M trim adhesive (make sure it won't eat foam) from napa and a quart of rubber contact cement.
Lets get to work. I set up the full sheet of cardboard on top of a clean sheet of plywood on some sawhorses in the middle of the garage so I could work around it. Start by tracing the patterns onto the new cardboard that is your door panel. Mark any holes that will need to be put in. The cardboard cut pretty easy with a few passes of a new utility knife. To make the holes I used a gasket punch at first and for the larger holes, but for small door panel clip holes I just drilled 1/2" holes like the original had, and cleaned the edge with a sharp knife. You'll want all the holes drilled before you move on.
My door panels use a piece of stainless trim that I wanted to use to separate the smooth vinyl from the rolls & pleats. I marked the line where it needed to be on the panel itself. Very important that this line is accurate on all 4 pieces. Again, having the originals as a guide was nice. I started with the rolls & pleated material. On the kick panels I made sure I started at the back edge and worked forward, and with the door panels I started with the front edge and worked back. Where these two panels meet will be pretty obvious, and I wanted the seams to line up nice there.
Cut the vinyl so there is about 2 or 3 inches of overhang all around, except at the top edge where it meets the line, just make sure that is real straight.
About the right overhang on this...
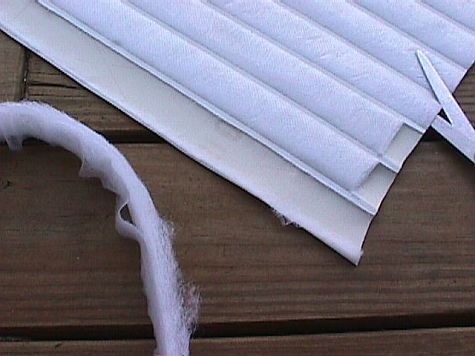
If you look at the back of this rolled and pleated material, you'll see each is stuffed with it's own foam. On the top edge I cut the foam out of the top 1/2" all across, so the vinyl here will lay flatter where it will meet the smooth. More on that later...
When you're sure you're set, spray the bottom half of the panel with the 3M adhesive and lay the vinyl on. A helper is nice but not required. Remember to start at the edge that will show the most and work the other way, pulling the vinyl tight and straight and push it tight. It will set pretty quick.
When that's set a bit, flip it over so your' looking at the back of the panel. All the extra foam you see hanging over has to be cut out. I used scissors. There should now be about 2 or 3 inches of vinyl overhanging the panel. cut the extra vinyl from the corners so it doesn’t bunch up when you fold it over the panel. Use the contact on both the panel and the back side of the extra vinyl, let it sit, and fold the edges over tight. Tape helps hold it, and this probably won't be set till overnight. This part is the bitch because the edges don't like to stay put where you glue them until they are dry.
While that's setting up, you can start on the smooth part at the top. Cut a piece of the 1/4" foam the exact shape it needs to be on the front of the panel. You don't want any overhang on the foam. If there are any door handles or window cranks, cut a hole in the foam now, this will give that nice padded look with the handles sunk in just a hair. Then cut out the smooth vinyl, again, leaving 2 or 3 inches of overhang. Use the spray glue to glue the smooth vinyl to the foam. Fold the bottom edge around the vinyl and glue it to the back, this is where it meets the rolls and pleats, leave the other edges loose.
(Note: The bottom edge of the smooth vinyl is wrapped around the foam and glued to the back of the foam like the other edges are glued around the cardboard. The three other edges of the smooth get glued around the cardboard, not the foam piece.)
After all this has set up you can glue the smooth vinyl with the padding you added to the top of the door panel. Use the edge you overlapped to overlap the rolls & pleats with, and overlap the two by about 1/4 to 1/2" Now you can flip it over again, and fold over these edges like you did with the bottom half, glue them with the contact cement. Now the seam should look presentable as is, but I had the moldings to put back on anyway. They had pins on the back to bend over, so I just pushed them firmly to punch through the vinyl and cardboard, and bent them over from behind.
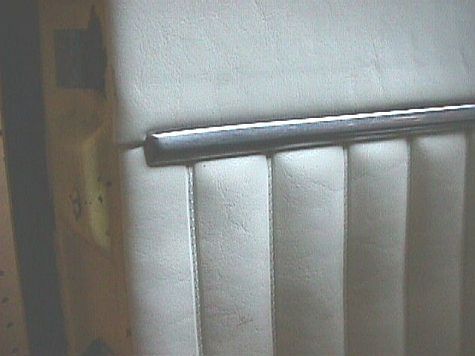
Finally I glued some clear plastic like they sell for seat and table covers onto the back with contact cement to help keep moisture out. I picked up a few bags of door panel clips at napa and used them to pop into the original holes. I put a screw in each bottom corner for good luck. I used the same techniques to roll & pleat the package shelf.
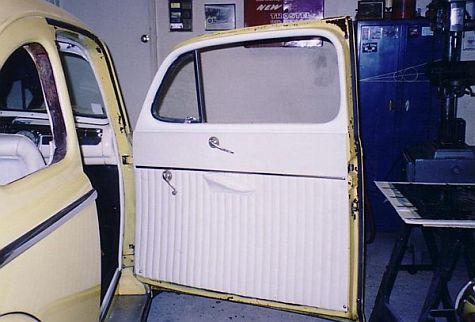
Here's the one panel installed, you can see my other panels in the works on the table in back...
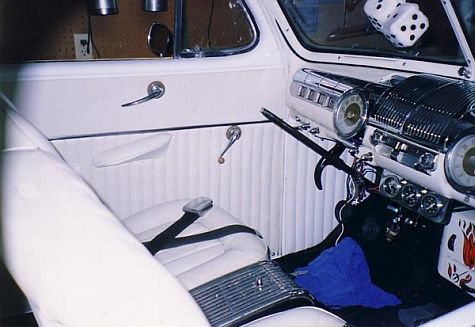
Here's what I meant about having a nice edge where the door and kickpanels meet...
Now, get to work!
Return from Cheap and Easy Door Panels to Hot Rod Interior
Return from Cheap and Easy Door Panels to How-To-Build-Hotrods
